We buy all the products we test — no freebies from companies. If you purchase through our links, we may earn a commission, which helps support our testing.
Over the last 13 years, we've tested more than 35 of the best avalanche beacons. For our current review, we purchased and tested the top 10 beacons side-by-side. Our seasoned crew of AMGA-certified ski guides, avalanche course instructors, and snow safety professionals spent the entire season testing these beacons across North America, from Alaska to the Cascades and from the Sierra Nevada to the Rockies. We closely examined important aspects like speed, accuracy, and range in single and multiple burial scenarios. We put these beacons in the hands of novice users and ski guides alike to offer expert advice on which model is best based on your level of training and experience. Whether you're an industry professional or you're brand new to the backcountry, our in-depth review will help you find the right avalanche beacon for your needs and budget.
Editor's Note: After the slew of recalls over the past years, we recently repurchased and retested the entire lineup of beacons to ensure the accuracy of our test results. We updated this review on May 11, 2024, with our latest findings and new award winners.
New to the Backcountry?
If you're here shopping for your first avalanche beacon and haven't taken an avalanche course yet, this video by Backcountry Access offers a brief overview of a beacon search and the terminology we'll use in this review.
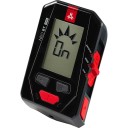
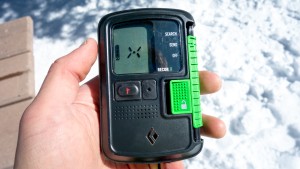
The Black Diamond Recon X is our top choice for the widest range of backcountry skiers and riders. For the most common avalanche rescue situations – which only involve a single burial – this model shines thanks to its combination of ease of use and accuracy. Yet, it still provides just enough features to satisfy more advanced backcountry travelers. What sets the Recon X apart is the smooth Pieps processor, which accurately displays distance and direction without being overly jumpy or laggy. For new users, this equates to a good learning platform to hone your skills; for advanced users, it won't interfere with more complex rescue scenarios. Whether you're purchasing your first beacon or you're aiming to take more advanced avalanche courses, the Recon X is a beacon you can grow with.
While the Recon X is still an excellent choice for users across the spectrum of experience, some professionals will find its stripped-down feature set limiting for high complexity scenarios. For guides and patrollers, we suggest the Black Diamond Guide BT, which is built on the same smooth Pieps processor but offers more advanced features. While holding down the single function buton on the Recon X to run a group check is a bit annoying, the flagging function works essentially as well as other pro-level beacons we tested. If you appreciate simplicity, then the Recon X is the perfect balance of functionality and ease of use.
While we love that the Recon X includes a group check function for more efficient trailhead checks, it would be better if we didn't have to hold down the button the whole time.
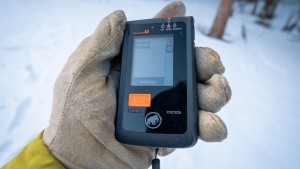
The Mammut Barryvox S is an excellent option for professionals and more experienced backcountry travelers who are most likely to take advantage of its fully-featured capabilities. Its settings and features can be fully customized to match a user's preferences and style. It also sports one of the longest measured ranges in our tests, as well as one of the widest manufacturer-recommended search strip widths of any model we tested. While the Barryvox S is still fast to find a single burial, it takes a little more practice to gain proficiency in a fine search. But where this beacon really excels is solving complex multiple burials, where its ability to differentiate targets buried in close proximity is nearly unmatched.
While the Barryvox S is our top choice for professionals and highly experienced users, it's likely just too much beacon for novices backcountry travelers. It's more than likely that most recreational backcountry users won't take advantage of the advanced features that make this beacon more complicated to learn – and add significantly to its cost. This beacon is super smart, but as a result, it takes time to process data in a fine search, and it takes notably more diligence. For most backcountry skiers and riders, we'd suggest the more practical Black Diamond Recon X. But for the discerning pro who demands unparalleled capability, there is no better beacon on the market than the Barryvox S.
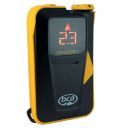
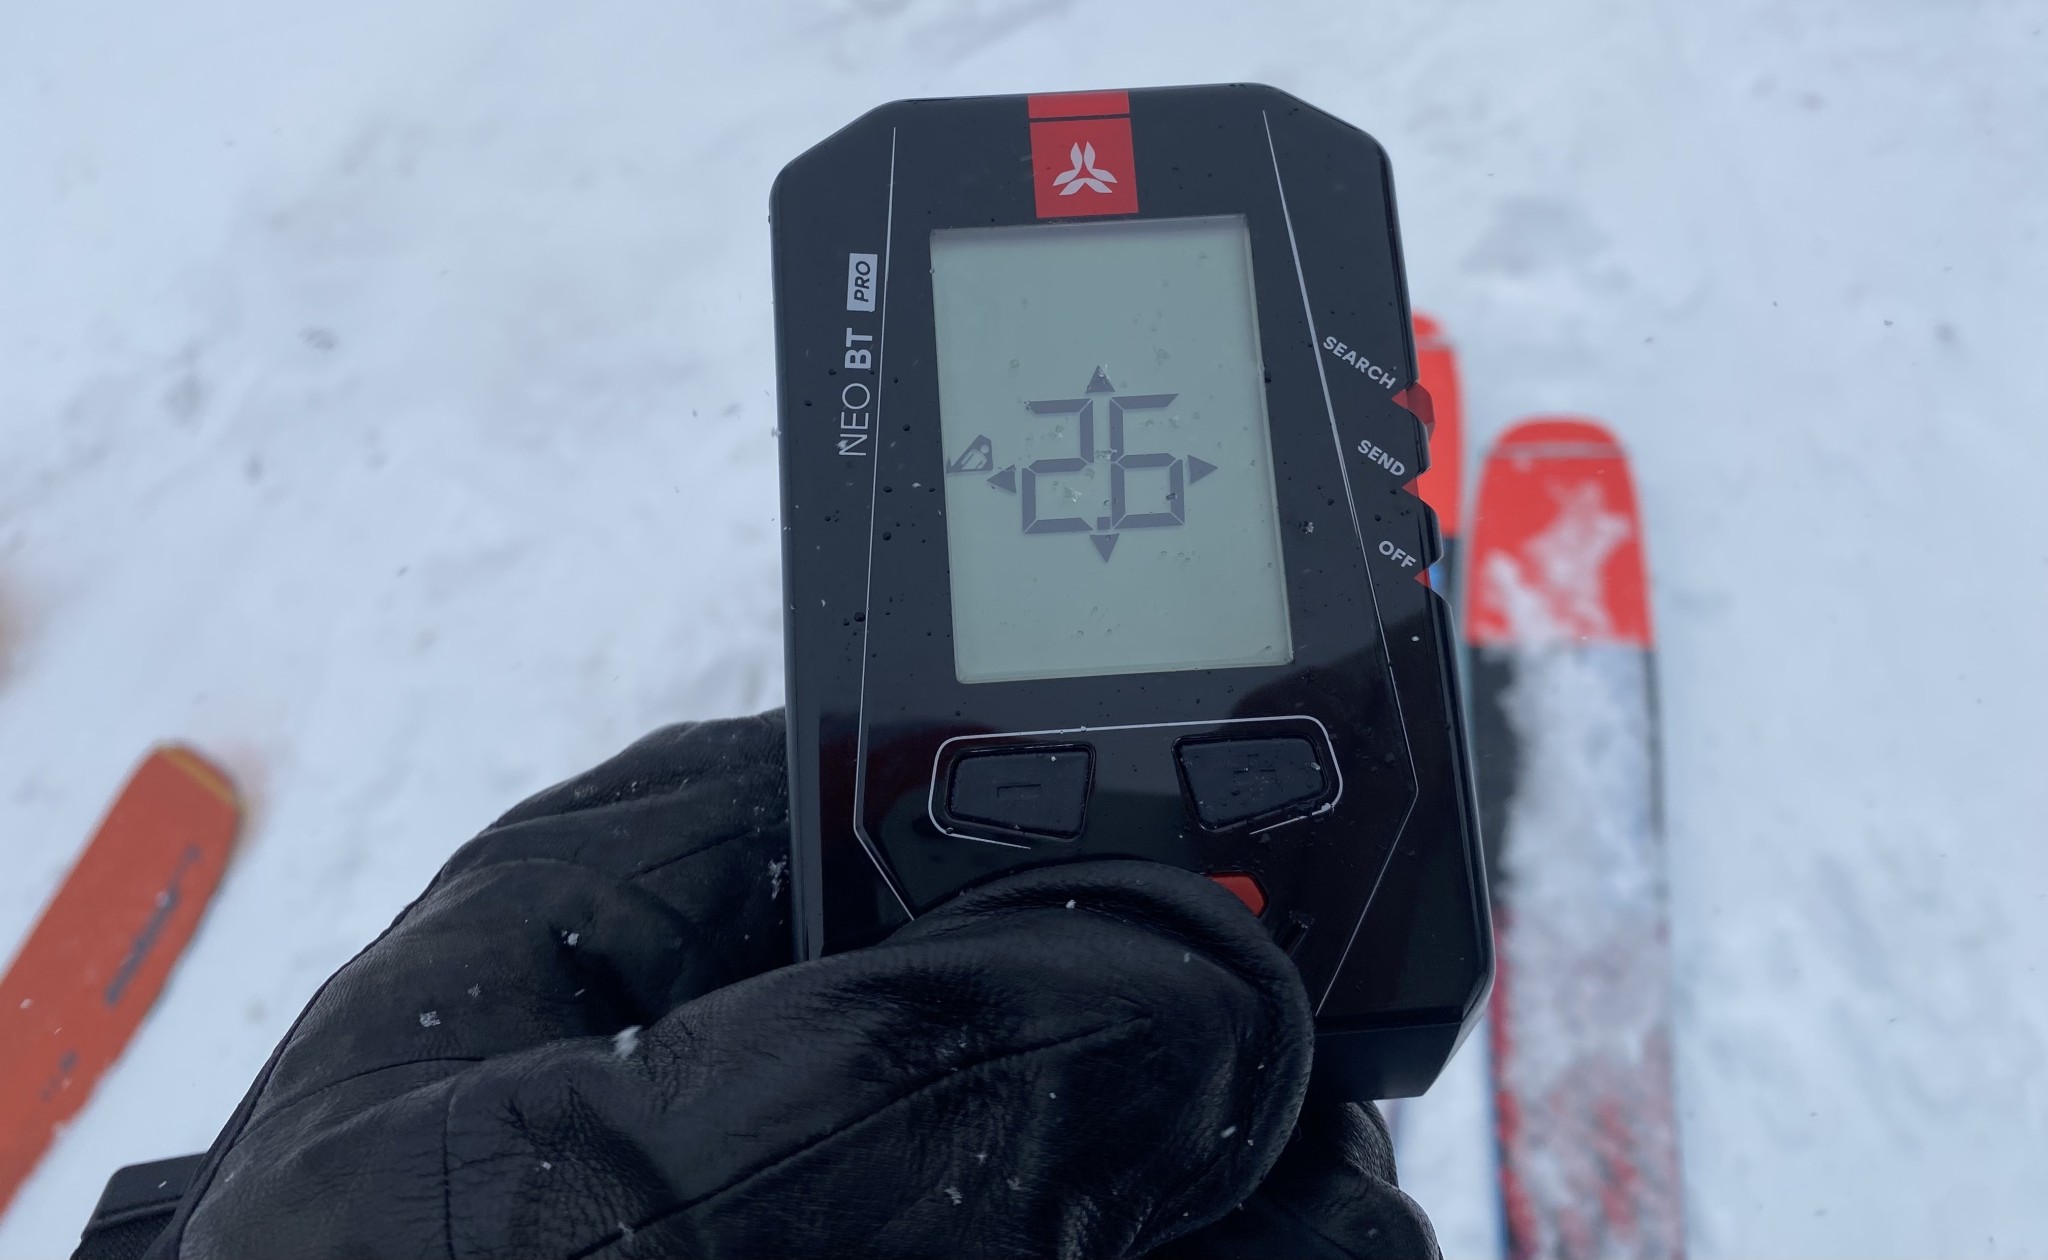
The Arva Neo BT Pro is an ultra-capable beacon relative to its cost. Performing well enough in the hands of any professional, it is easier to use than most high-end beacons yet includes far more features than its mid-level price suggests. Currently, no other beacon featuring the Neo BT Pro's range or multiple burial functionality can be found at this price point. Our team was impressed by several of its features, things like the ability to access Group Check mode anytime from Send and easily switching in and out of an analog-only mode in Search. More importantly, an intuitive interface – including easy-to-follow visual prompts at every stage of a search – makes the Neo BT Pro an equally appropriate option for more novice users to learn with while they hone their rescue skills.
While the Neo BT Pro offers many advantages over comparably priced models, it does have some notable disadvantages. It was consistently less precise than other beacons in the fine search phase, and its distance readings were quite jumpy at the maximum extent of its range. While it offered some of the same pro-level features that come in very handy during complex multi-burial scenarios, it sometimes struggled with processing more than two beacons. However, we should also note that this was more noticeable among less practiced users than more experienced ones. If you're a more casual backcountry skier or rider, you'll likely be better served by a more accurate, easier-to-use beacon like the Mammut Barryvox. But if you're an aspiring pro looking for an option that's a bit easier on the wallet, then the Neo BT Pro is the beacon for you.
Many of the pro-level functions found on the Neo BT Pro, like the ability to scroll through signals, are typically only found on more expensive models.
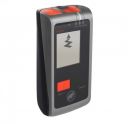
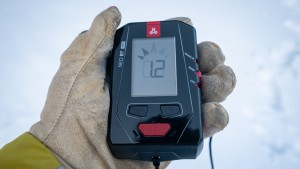
The S in the Backcountry Access Tracker S stands for simple, and that is the design aspect that drives this beacon: simplicity and ease of use. This beacon includes the simple features that most backcountry travelers seek while maintaining the ultra-intuitive design that made the Tracker series the best-selling beacons of all time. A low-profile casing works well for those who prefer carrying their beacon in a zippered pants pocket and is even noticeably less bulky worn in the harness. All of our testers love how straightforward this beacon is to use and appreciate the fast processor speed, which is above average among all beacons in our review. One of our favorite things is how precise it was during the fine search phase, allowing for easier pinpointing with the probe and leaving you more time for the challenging job of digging.
Compared to other beacons with a true flagging function, we don't love that Signal Suppression – one of BCA's two alternative multiple burial functions – only suppresses the signal for one minute. In certain situations, this can create confusion, and it takes a bit more practice to become adept with this function. Multiple burials only make up about 15% of rescues (and rescues involving more than two buried people are less than 5%), so this is hardly a dealbreaker. But still, we prefer the flagging function on comparable beacons like the Black Diamond Recon X. Those criticisms aside, we think the pros far outweigh the cons for the Tracker S – if you're looking for a high-value option that is incredibly easy to use, you've found it.
Consistently the fastest rescue times for less practiced users
REASONS TO AVOID
Multiple burial functions aren't ideal for complex scenarios
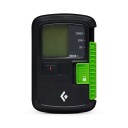
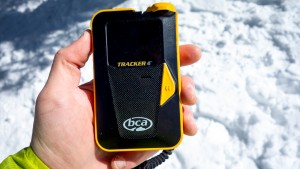
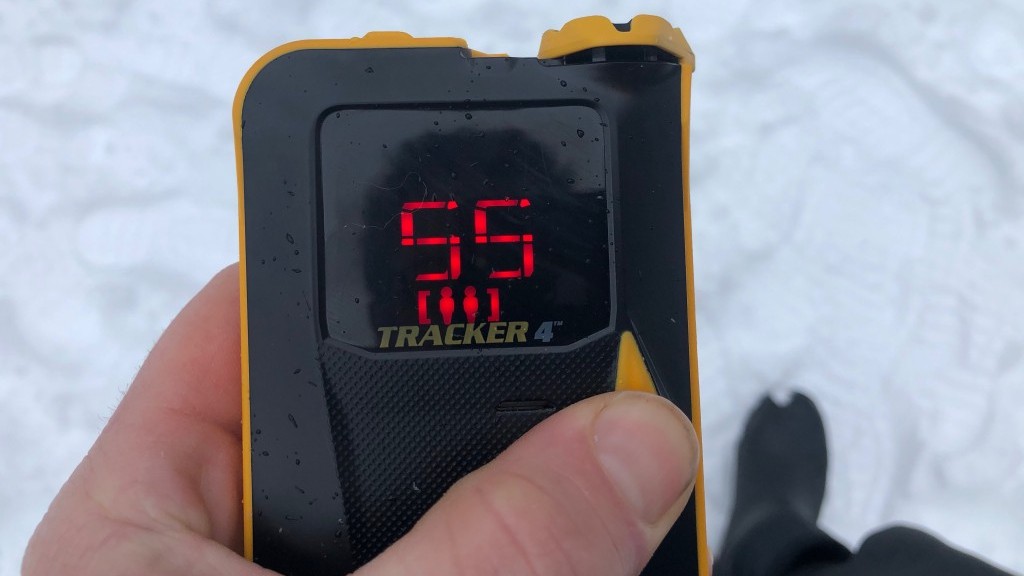
The BCA Tracker4 is the latest iteration in BCA's tried-and-true Tracker series. The Tracker4 picks up rides closely on the tails of the fan-favorite Tracker3 – in fact, most of the differences are external. The Tracker4 offers a tougher, rubberized case, an easier-to-read display, and notably easier controls. While the T4 offers a slightly better range, the functionality of these two beacons is nearly identical. What sets the Tracker4 apart is the prioritization of speed and simplicity over bells and whistles. In our tests, the Tracker4 proved to be one of the fastest and most user-friendly beacons on the market. It consistently set top times in 1-2 burial scenarios and was notably the fastest in the hands of newer users, often thanks to its precision in a fine search.
Like the Tracker S, our main complaint with the Tracker4 is its multi-burial functionality. Its Signal Suppression function certainly works well enough for two burials, but for three or more – which, to be fair, account for less than 5% of real-world burial incidents – the process is much more complicated than the more intuitive flagging function. Even with the additional Big Picture mode, which helps rescuers build a quick mental map of a multi-burial scenario, the combined functions still don't quite add up to the utility of a true flagging function. If you're an aspiring pro planning on future examinations, we highly recommend investing the time and money into a high-end model like the Barryvox S or even the more affordable Arva Neo BT Pro. But for the vast majority of backcountry skiers and riders, the Tracker4 repeatedly proved it was among the absolute fastest and easiest models we tested — something that anyone can appreciate considering the stress associated with a real-world rescue.
Big Picture mode helps a rescuer quickly establish how many buried beacons are within range. Combined, Big Picture and Signal Suppression are helpful in multiple burial scenarios, but not nearly as useful as a true flagging function.
Credit: Dom Rickicki
Compare Products
The best beacon is the one you have put the time into understanding and can use effectively.
Credit: Dom Rickicki
Why Trust GearLab
We've purchased and compared dozens of avalanche beacons over more than a decade of testing. Our team compared these beacons side-by-side over an entire season, putting them head-to-head in hundreds of tests to compare speed, accuracy, range, ease of use, and the utility of their features. In the hands of fellow avalanche professionals and never-ever users, we recorded their average rescue times in single and multi-burial scenarios. We calculated their average range in a signal search, analyzed how quickly and accurately they led us to a target during a coarse search, and examined their precision in a fine search. We looked for consistency and repeatability of each model's performance in each test and across user types to best assess the pros and cons of each competitor.
Our testing of avalanche beacons is divided into five rating metrics:
Speed (30% of overall score weighting)
Interface (25% weighting)
Accuracy (20% weighting)
Multiple Burials (15% weighting)
Range (10% weighting)
Leading our test team is review editor Dom Rickicki. Dom is a faculty instructor with the Silverton Avalanche School in Silverton, CO, and Head Guide at KMAC Guides in Estes Park, CO. He spends over 100 days each winter backcountry skiing, splitboarding, teaching avalanche courses, and ski guiding. Dom is a professional member of the American Avalanche Association, has completed his Pro Level 2 – the pinnacle of avalanche education in the US – and is an AMGA Apprentice Ski Guide.
Ian Nicholson laid the groundwork for this review. Ian is an IFMGA/UIAGM guide and a part of the AMGA instructor team, where he teaches and examines ski guide courses. He is also a former avalanche forecaster and works on AIARE's national training team, instructing professional-level avalanche courses and training future avalanche instructors. He estimates that he has personally taught over 100 recreational-level AIARE courses over the years.
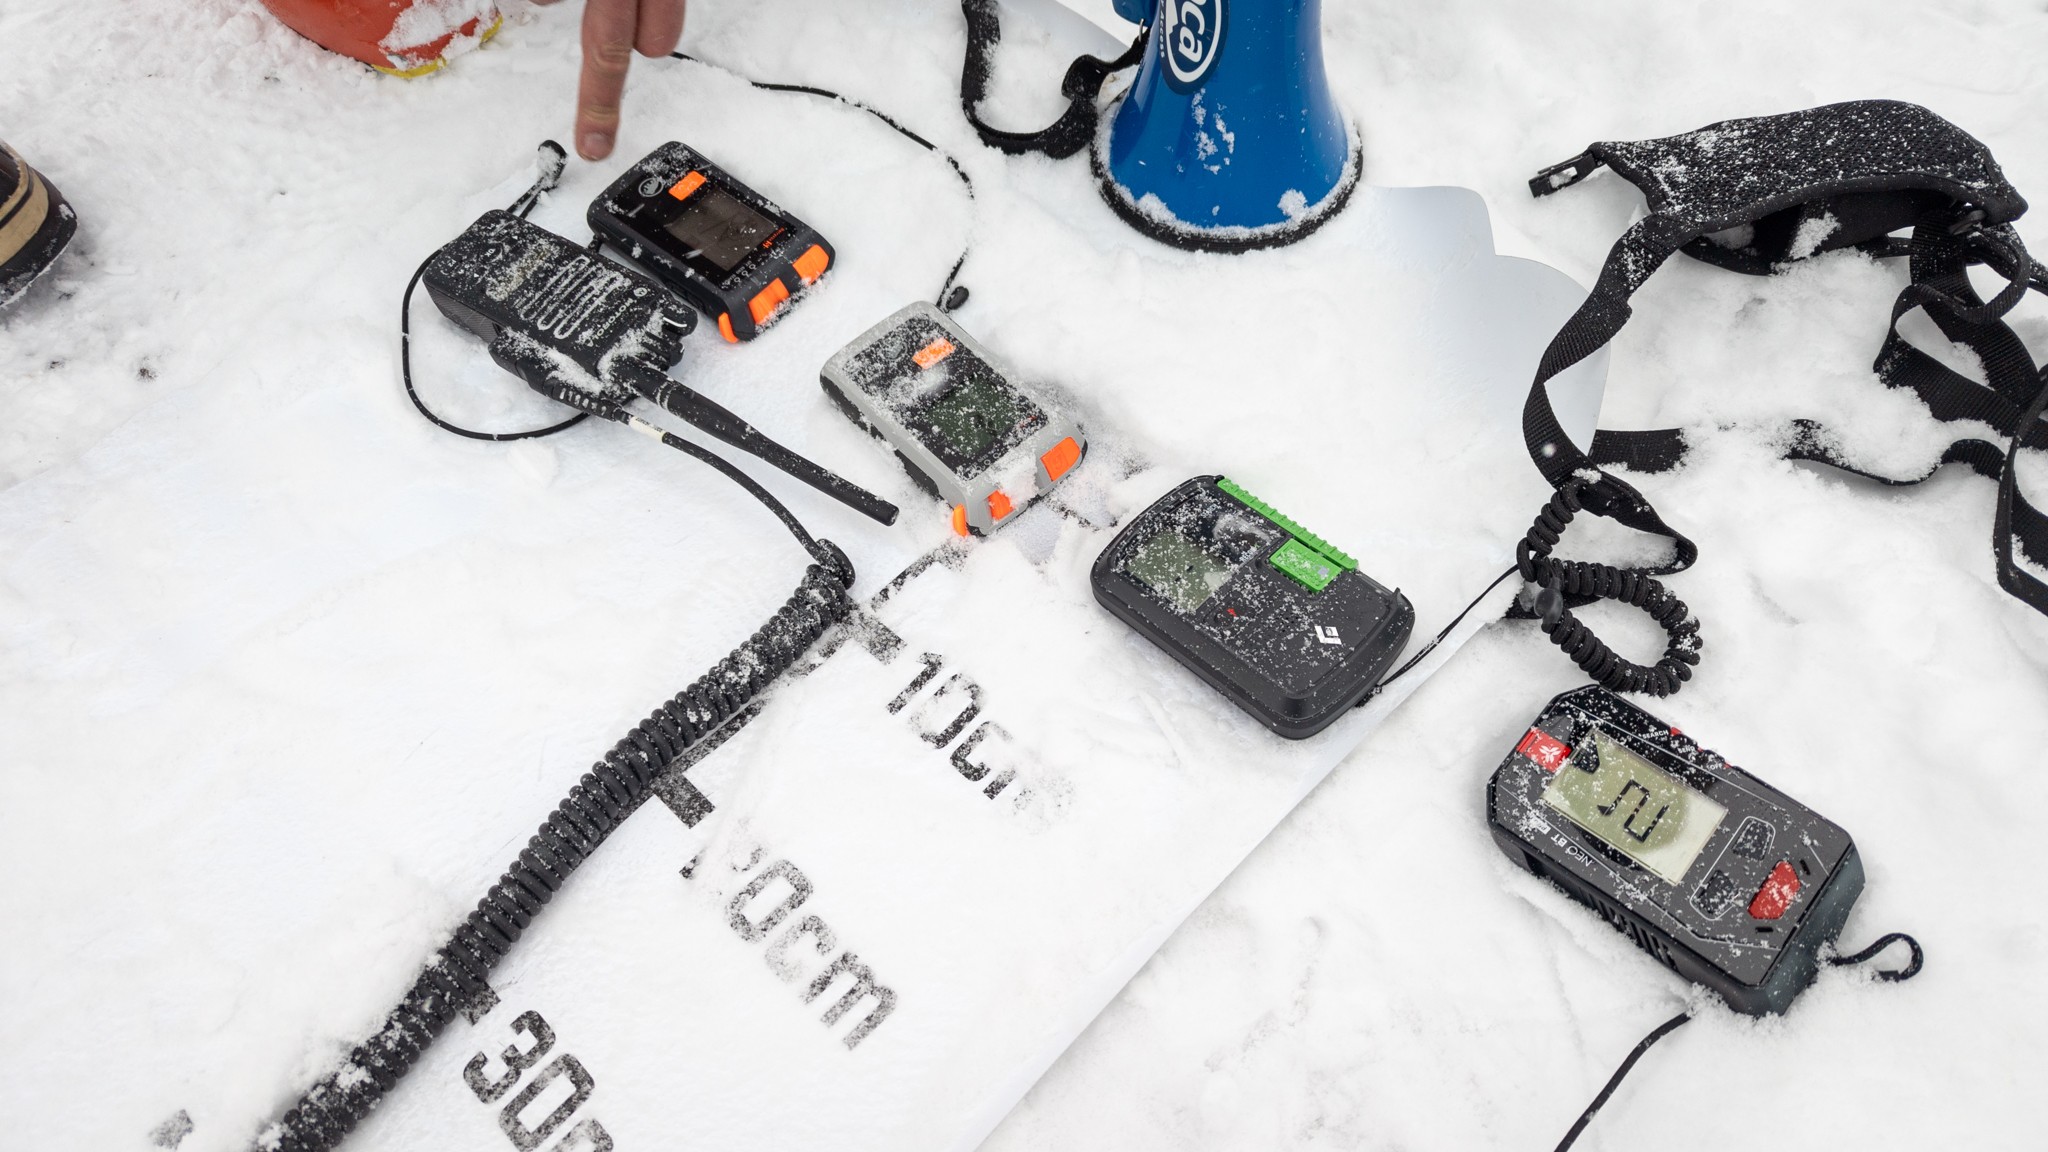
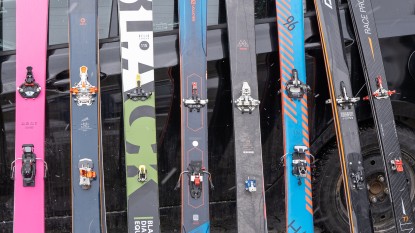
We tested all of the best beacons on the market side-by-side to directly compare their capabilities.
For new users on a budget, the Tracker S is an excellent choice.
We closely examined the design and functionality of each beacon, from how well they fit in a harness to how well they perform in rescue scenarios.
Analysis and Test Results
Increased participation in backcountry skiing alongside rapid technological advancement has led us from the first digital avalanche beacon in 1997 to the list of modern beacons included in this review. Through extensive side-by-side testing, we have sorted today's top options to help you decide which beacon is right for you. Our test team strives for excellence in their field – the expert advice in our review is based upon seasons of teaching avalanche rescue courses and continuing professional development in the snow and avalanche industry,
While the Black Diamond Guide BT has more features than the Recon X, most users will find the Recon X to be all they need for the most common rescue scenarios.
Credit: Dom Rickicki
Part of deciding which beacon is right for you is understanding how you will use it. Clearly, all backcountry travelers carry a beacon in the case of an avalanche. But there is a big difference between how a recreational backcountry skier and a snow safety professional will use a beacon. Industry professionals often participate in advanced search and rescue training, including examinations that test their ability to locate multiple buried beacons. In their work as guides, forecasters, and ski patrollers, they are the most knowledgeable users and will likely be looking for a beacon with advanced features to help them accomplish these challenging rescue tasks.
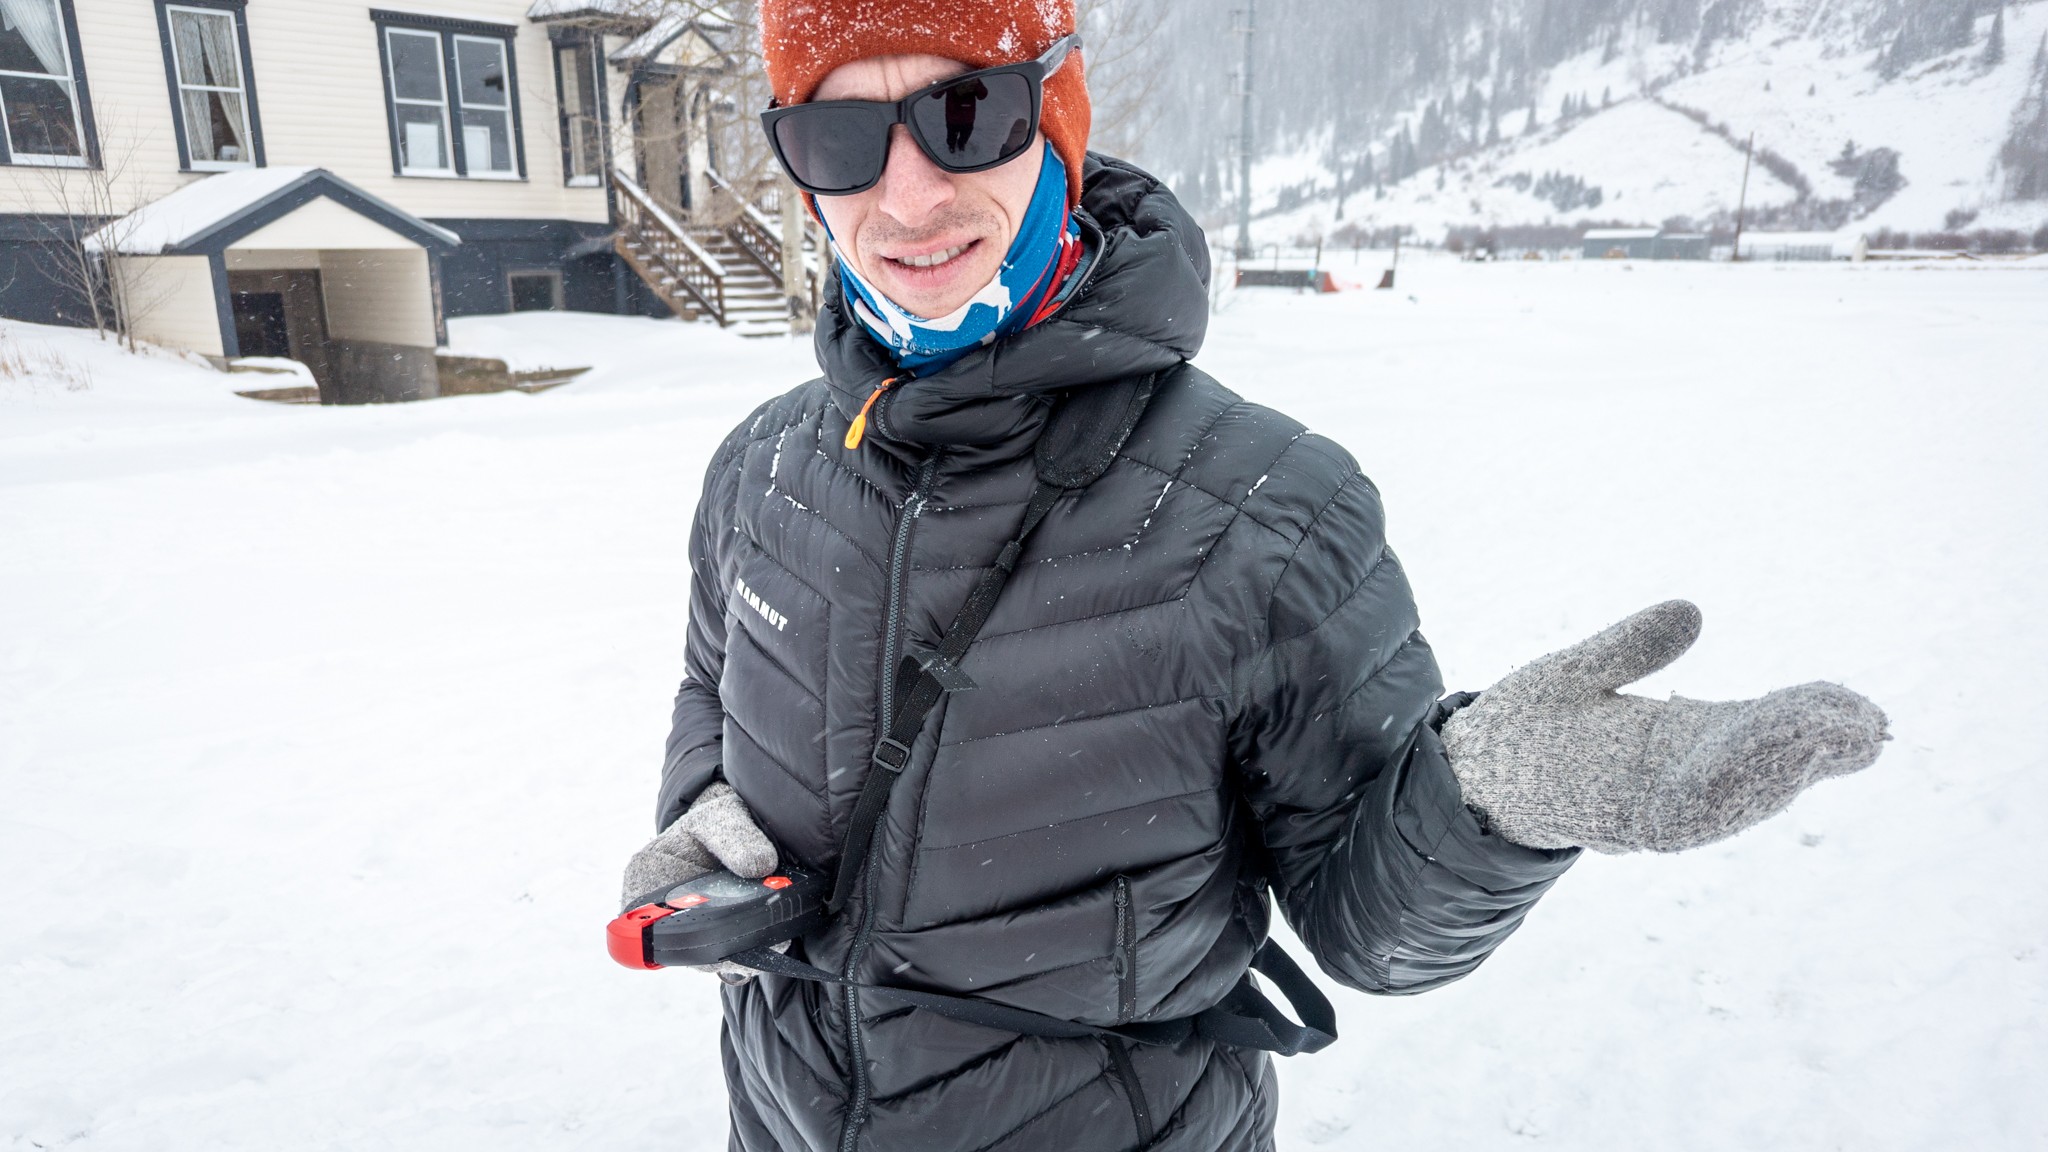
Base model beacons like the Mammut Barryvox offer the same processors as their pro-model siblings, in a more user friendly and cheaper package.
Credit: Dom Rickicki
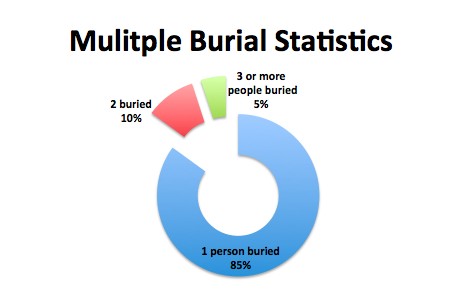
A recreational backcountry skier or rider, on the other hand, is likely less concerned with these advanced search and rescue techniques and more concerned with being able to quickly and effectively perform a rescue. This demographic of backcountry users should be most concerned with the most common avalanche rescue scenario – a single-person burial – which makes up 85% of avalanche accidents. With this in mind, we heavily weighted our testing metrics toward the things we recognize as most beneficial for people performing single-burial rescues. This is why our choice best overall beacon is not the most expensive and technologically advanced option, it is the one best fit for doing the job we need it to do.
Value
We highlight awards for specific user groups because beacons, like many things, aren't a one size fits all sort of product. Certainly, like many things, the more you spend, the more features you receive. However, with beacons, the most feature-rich option might not actually help you find someone faster. This is because the most capable beacons are frequently designed with more complicated interfaces. Because they are generally less straightforward to use – especially against the clock of trying to save someone's life – an ultra-capable beacon geared towards a pro might be a poor choice for a new user or a novice who doesn't practice as frequently.
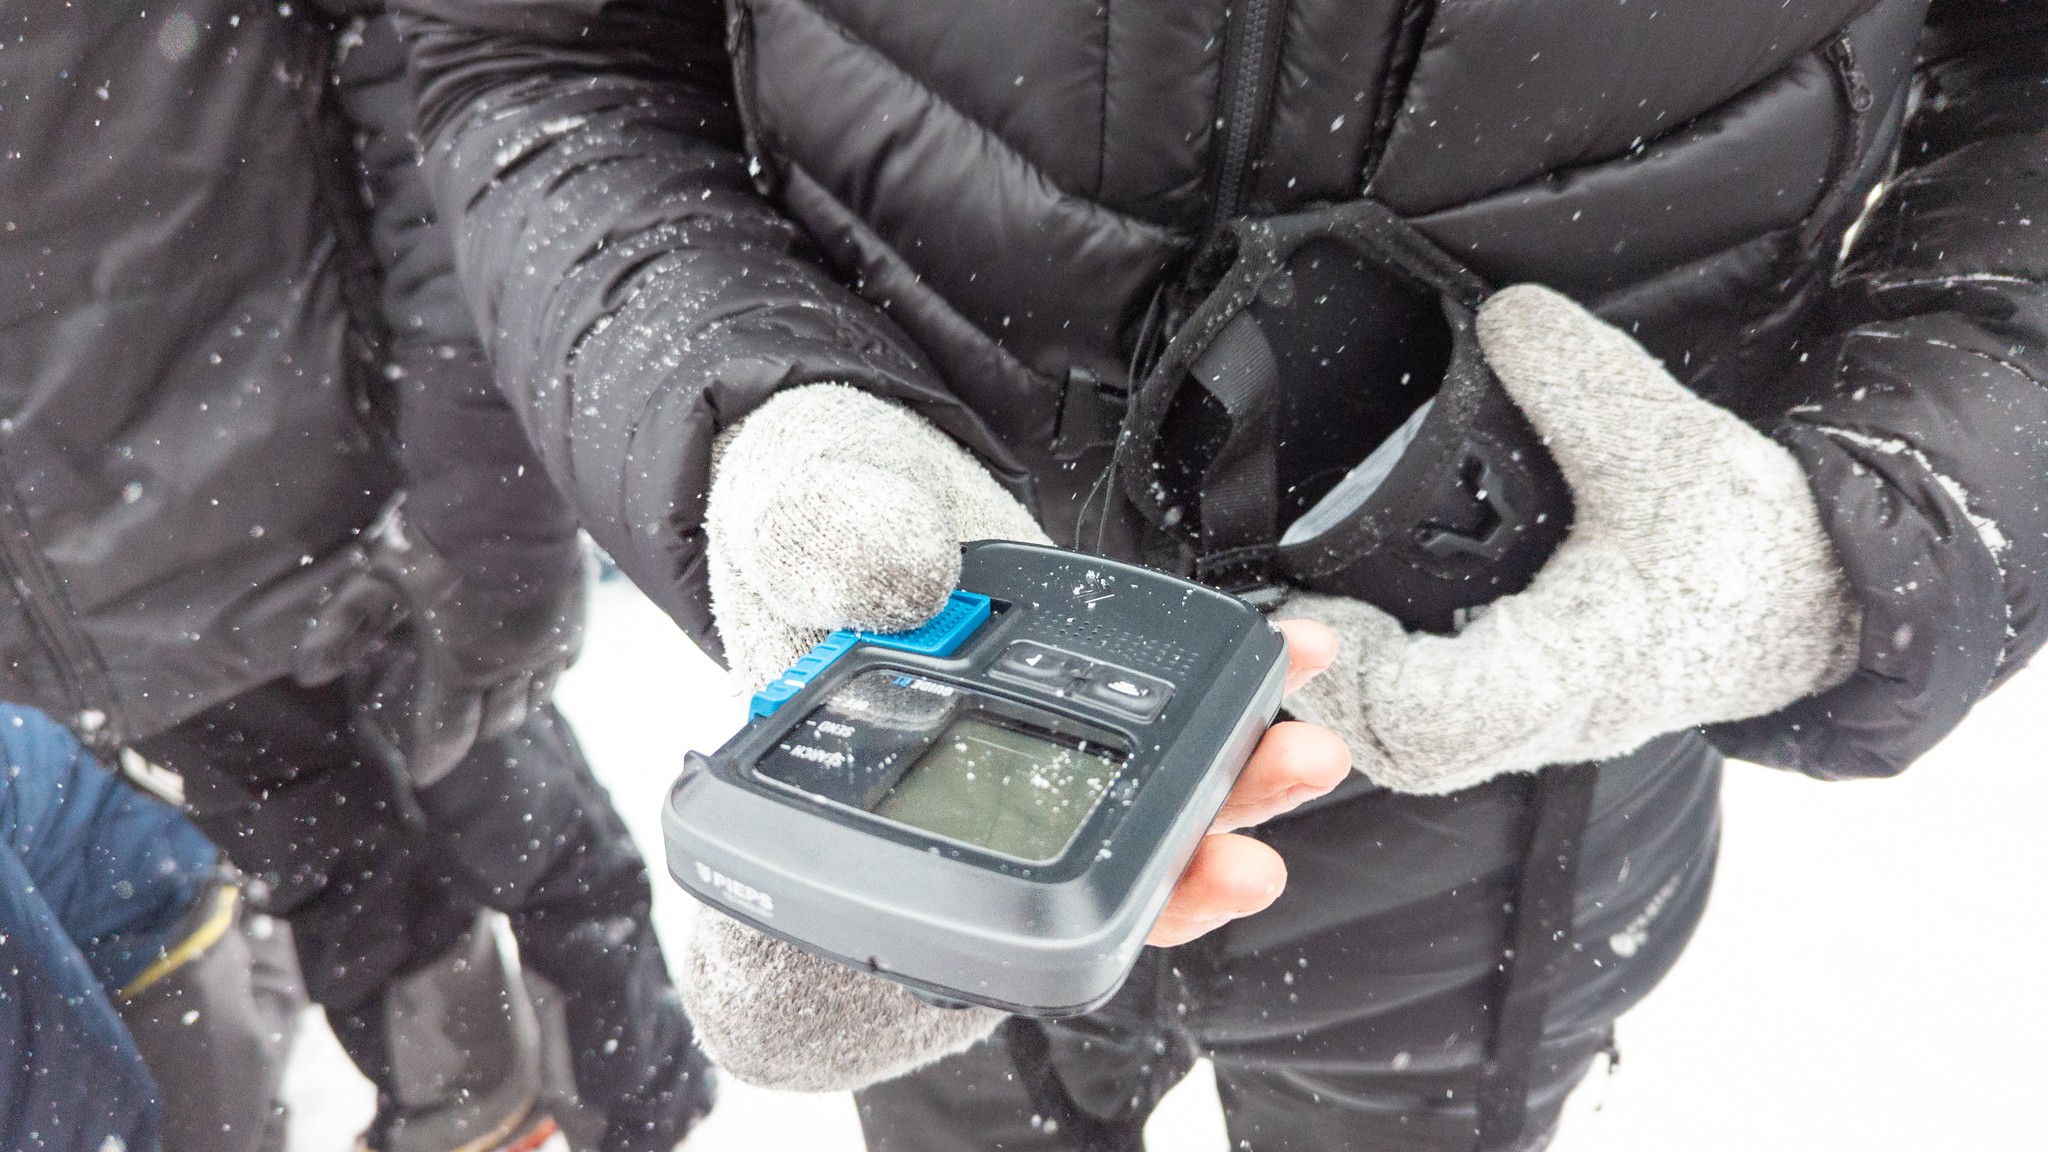
Simply designed, mid-level beacons, like the BCA Tracker S (center) and Mammut Barryvox (right), performed exceptionally well in the hands of dozens of people who had never even touched a beacon before.
Credit: Ian Nicholson
The great news here, financially speaking, is that for one- to two-person burials – which comprise 95% of avalanche accidents – every beacon we tested is more than capable of performing this task. The better news is that the most intuitive beacons tend to be in the middle of the price range. One beacon that particularly fits this description is the Backcountry Access Tracker S. It's fast, easy to use, and the price is right – at its price point, it's an incredibly capable beacon and, therefore, a great value. If you're seeking a beacon with more advanced features but don't want to spend top dollar, the Arva Neo Pro BT is the lowest-priced professional-level beacon in our test. Nestled nicely between those two options is the Black Diamond Recon X, which offers advanced flagging functions in an altogether user-friendly package.
Cheaper models often perform quite well, but be wary of their shortcomings. The Arva Evo 4, for example, requires the harnesss to be attached to be turned on, which makes it difficult to search using proper technique.
Credit: Dom Rickicki
Seek Out Professional Training
We highly recommend taking an avalanche course with SAS (Silverton Avalanche School), AIARE (American Institute for Avalanche Research and Education), American Avalanche Institute (AAI), or any other American Avalanche Association endorsed provider. If you haven't taken a course in the last 5-10 years, you should consider retaking one, as a lot has changed within the curriculum in recent years. Even if someone has taken a course several years prior, we always have students retaking Rec Level 1 and Avalanche Rescue courses, and all of them find it incredibly practical to refresh their knowledge.
When we're in a rescue scenario we don't rise to the occasion, we fall back on our training. Seek out professional training to best prepare yourself for the worst case scenario, and more importantly, how to avoid ever having to face that situation.
Credit: Dom Rickicki
Speed
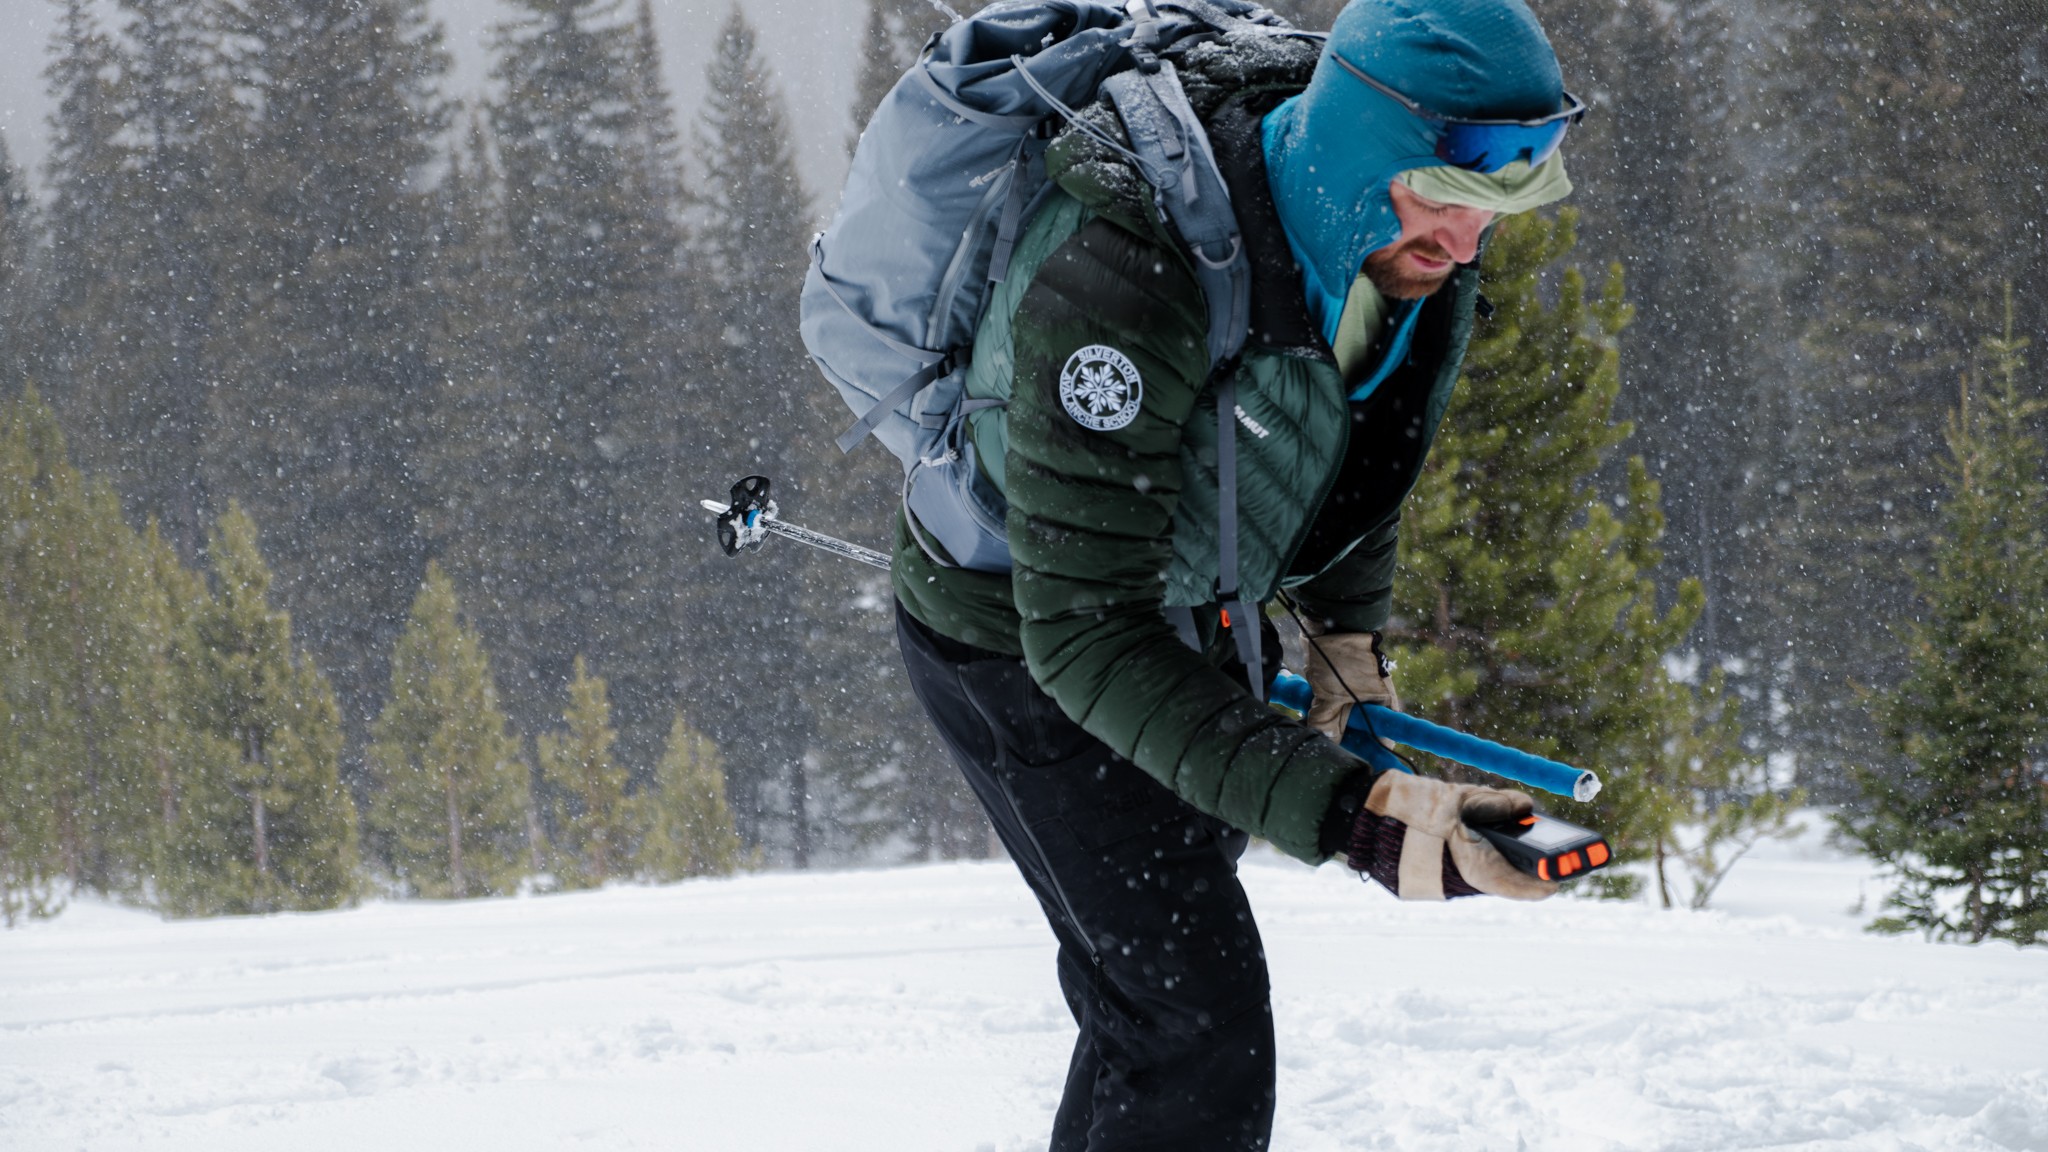
In a game of minutes, seconds count. After 15 minutes under the snow, a person's chance of survival decreases significantly. With that in mind, we wanted to assess a beacon's ability to bring us quickly into our target and help us pinpoint their location without hassle. Each manufacturer's processor is a little different, and some handle incoming information faster than others. To assess this, we considered a beacon's ability to keep up during a coarse search and how quickly we were able to refine the lowest distance reading during a fine search.
Some beacons handled the coarse search well but began to lag in the fine search phase. Others struggled in the coarse search, especially at the maximum extent of their range, but were able to handle a fine search quite well. For our scoring purposes, we combined the coarse and fine search speeds into one total score to paint an overall picture of a beacon's processing speed. Upon signal acquisition, Ortovox Diract Voice would often send you the long way around a flux line only to direct you to turn around. But once it was in the fine search, it smoothed out and provided quick distance readings.
For speedy searching, it's hard to beat the proven processor included in the BCA Tracker4. The instant-feedback display makes it easy to refine distance readings to the lowest possible number during a fine search.
Credit: Dom Rickicki
But of all the beacons we tested, one brand reigned supreme for its processor speed – the Tracker line from Backcountry Access (BCA). The Tracker4, Tracker3, and Tracker S all logged top scores in our speed tests. These beacons are almost akin to having a tape measure in your hand, reeling you into your target. According to BCA co-founder Bruce Edgerly, BCA beacons are designed with a real-time display that provides distance and direction information as soon as the beacon receives it. (Most other beacons on the market use a delayed-action display, whose more complex processors are designed to work in conjunction with advanced flagging functions.) Although the speed of a BCA beacon comes at the cost of a true flagging function, given that 85% of rescues are single victims, the tradeoff may be worth it.
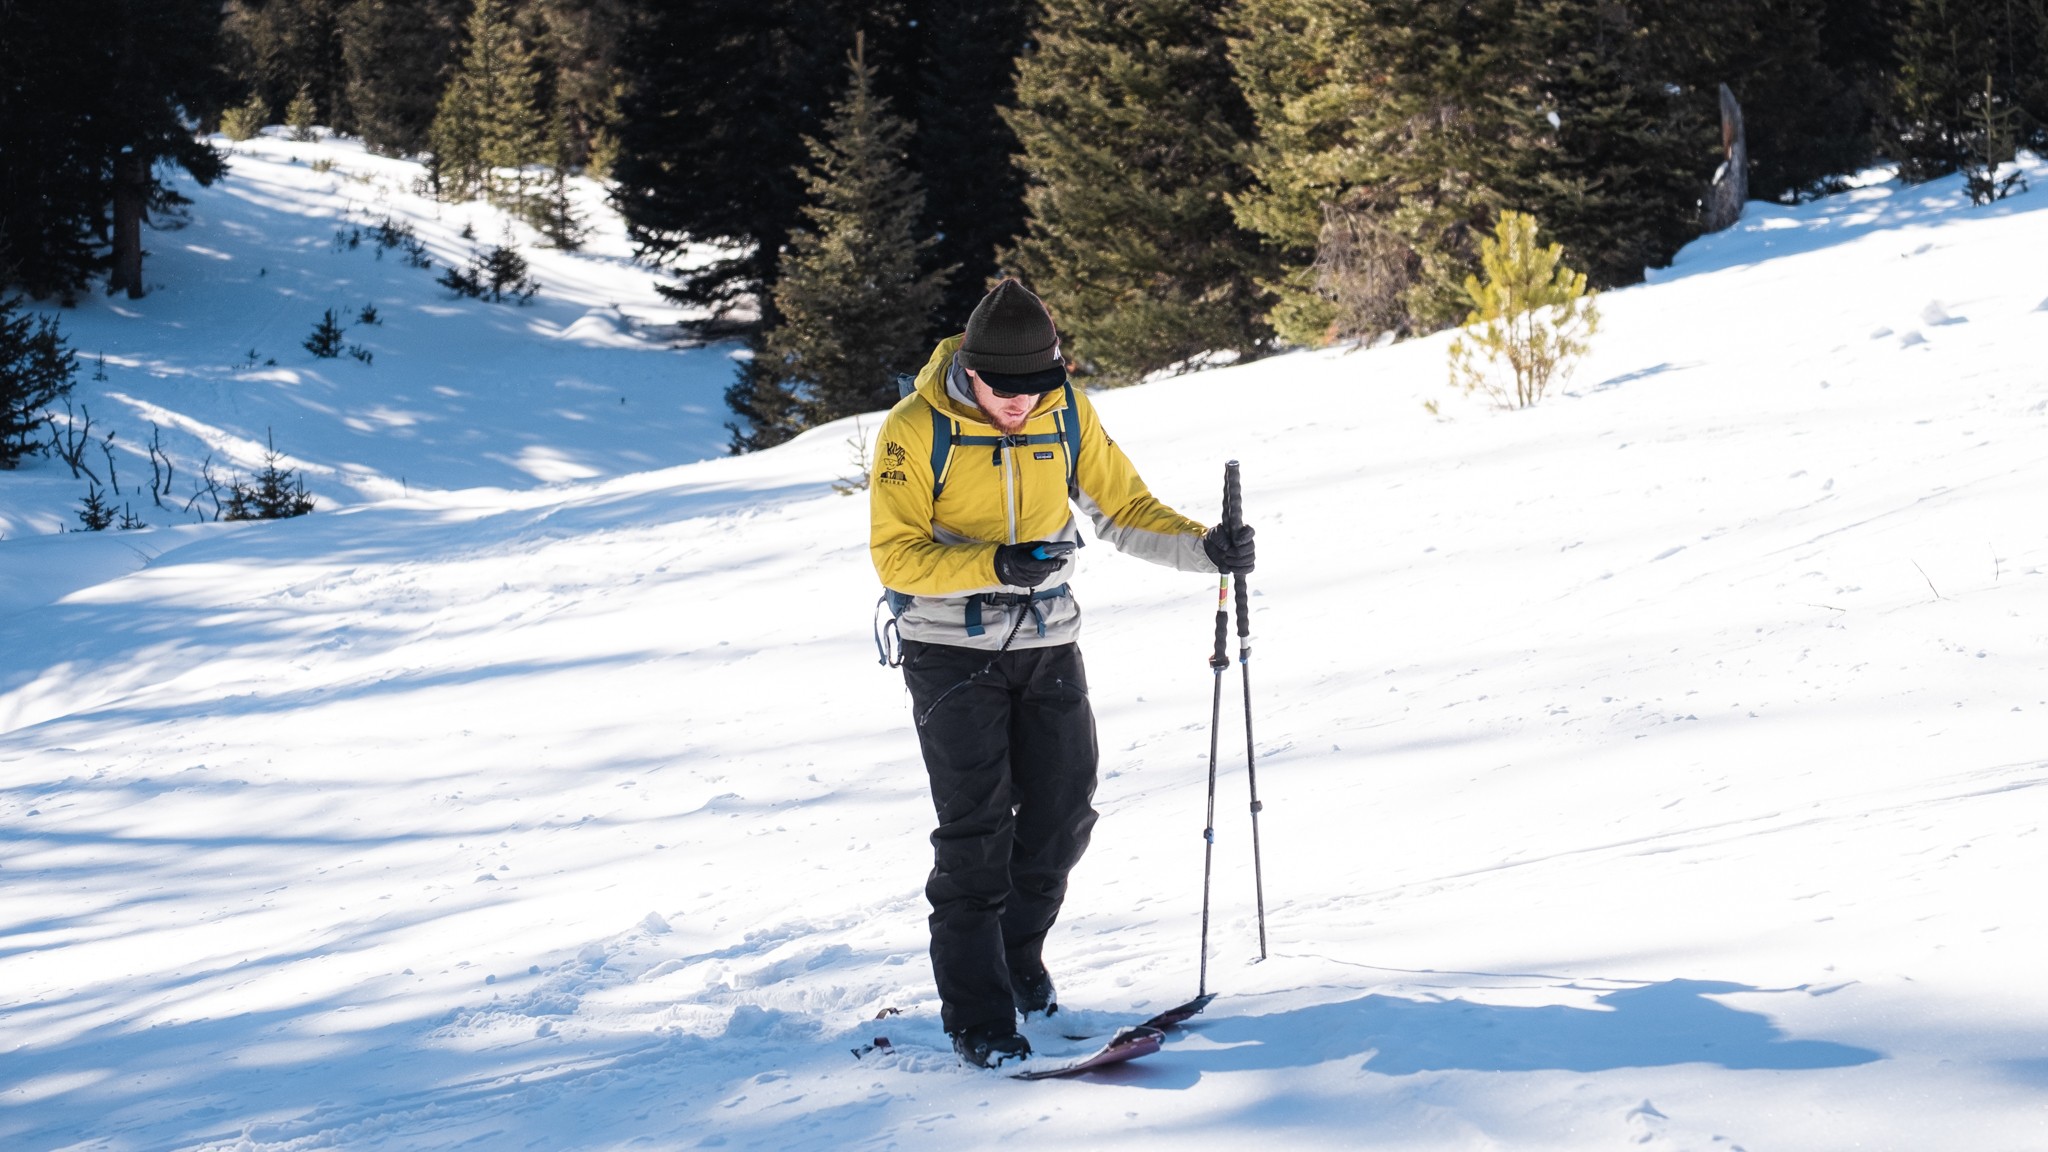
While beacon speed is important, remember that the longest part of your rescue will likely consist of digging. A faster beacon leaves you more time to dig.
Credit: Dom Rickicki
Practice Makes Perfect
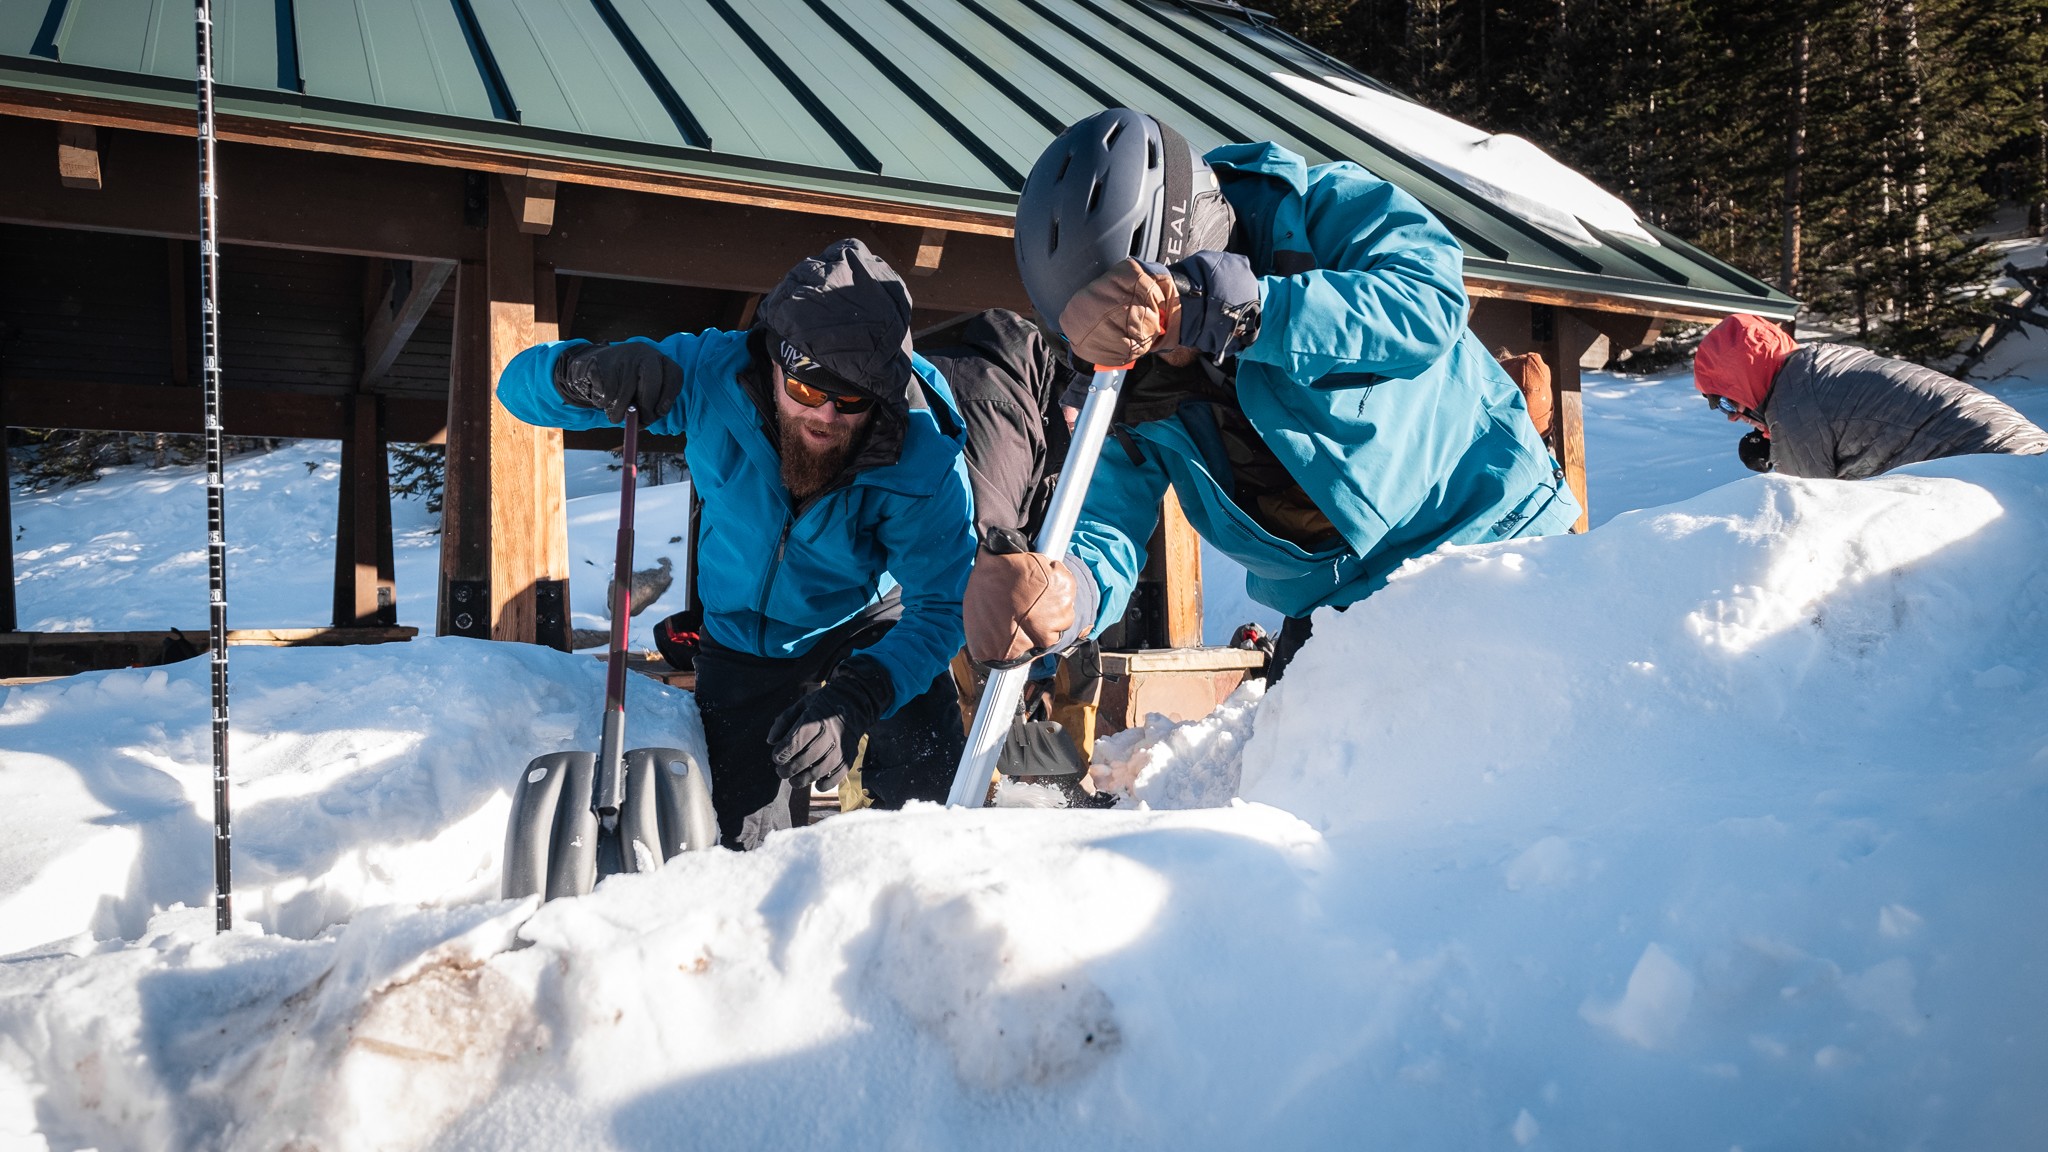
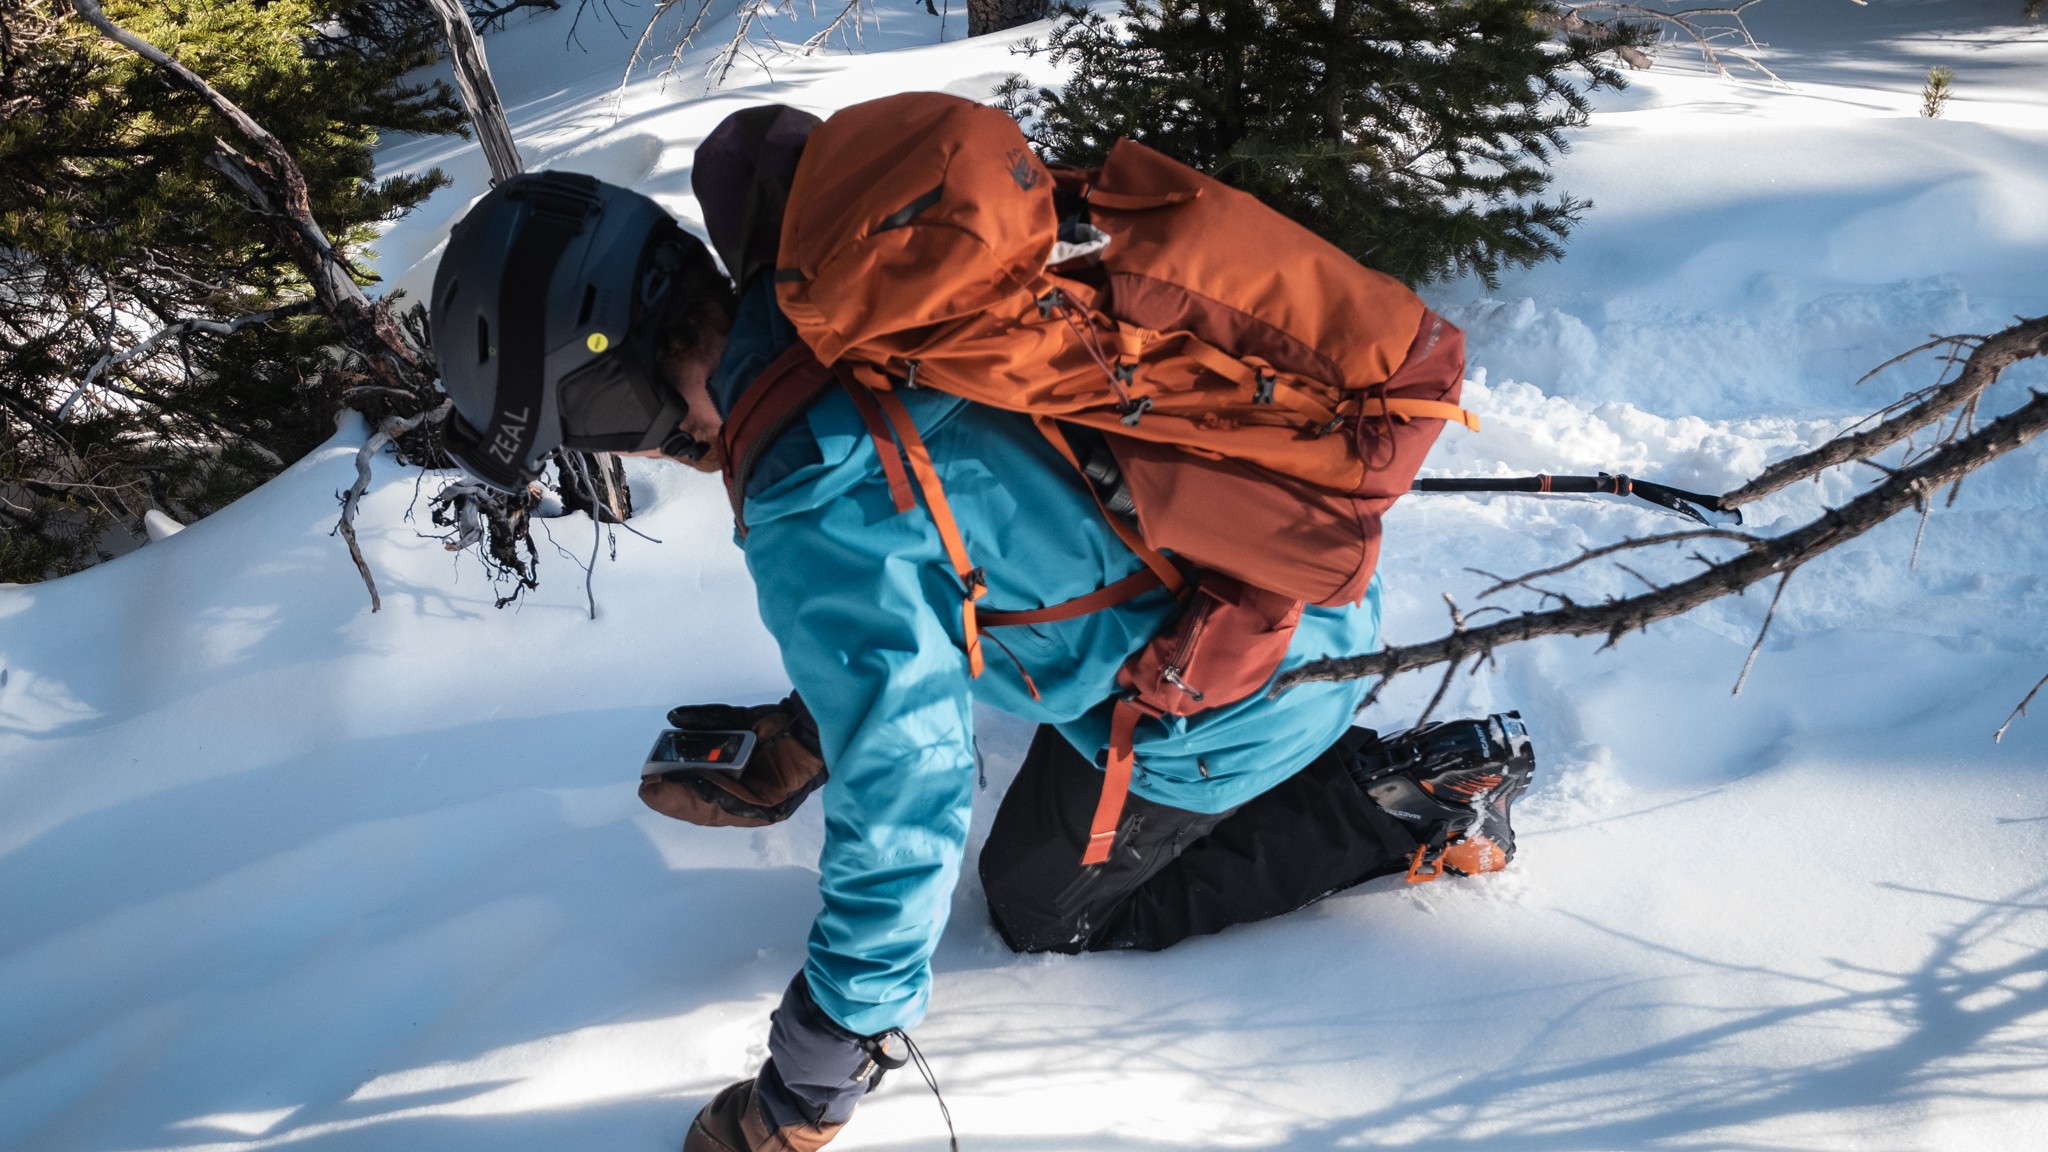
No matter how fancy your new beacon is, proper training and regular practice are essential to executing an efficient rescue. Experienced backcountry enthusiasts and avalanche professionals can find and excavate multiple beacons in under seven minutes, while an unpracticed novice can easily take 25 minutes or more to uncover a single burial.
Studies have shown that chances of survival drop significantly after 15 minutes underneath the snow. Other studies indicate that average rescue times, from the moment a person is caught in a slide to when their airway is exposed, is around 20 minutes. Considering that time is not on your side, wouldn't you and your partners like to be faster than the average?
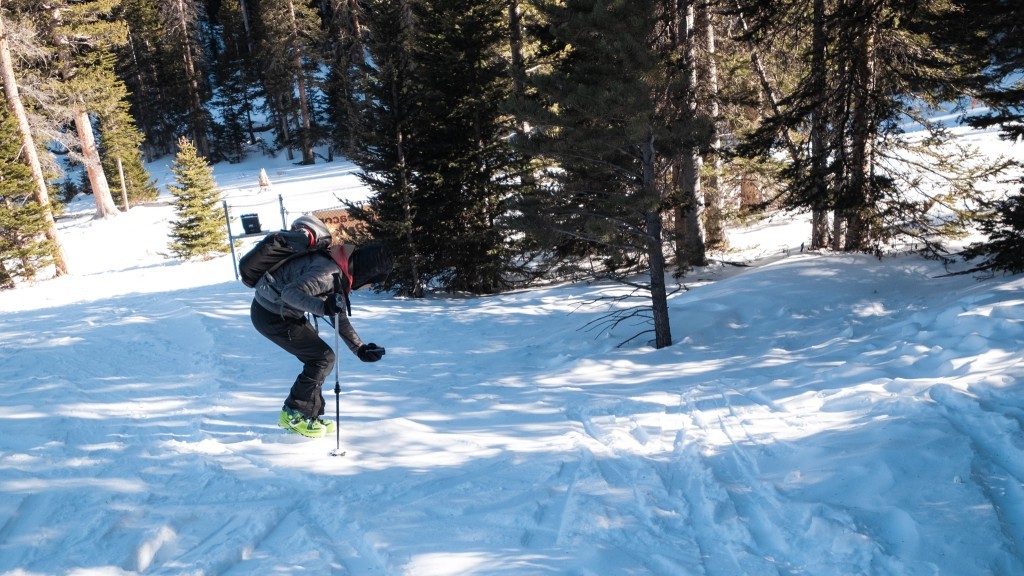
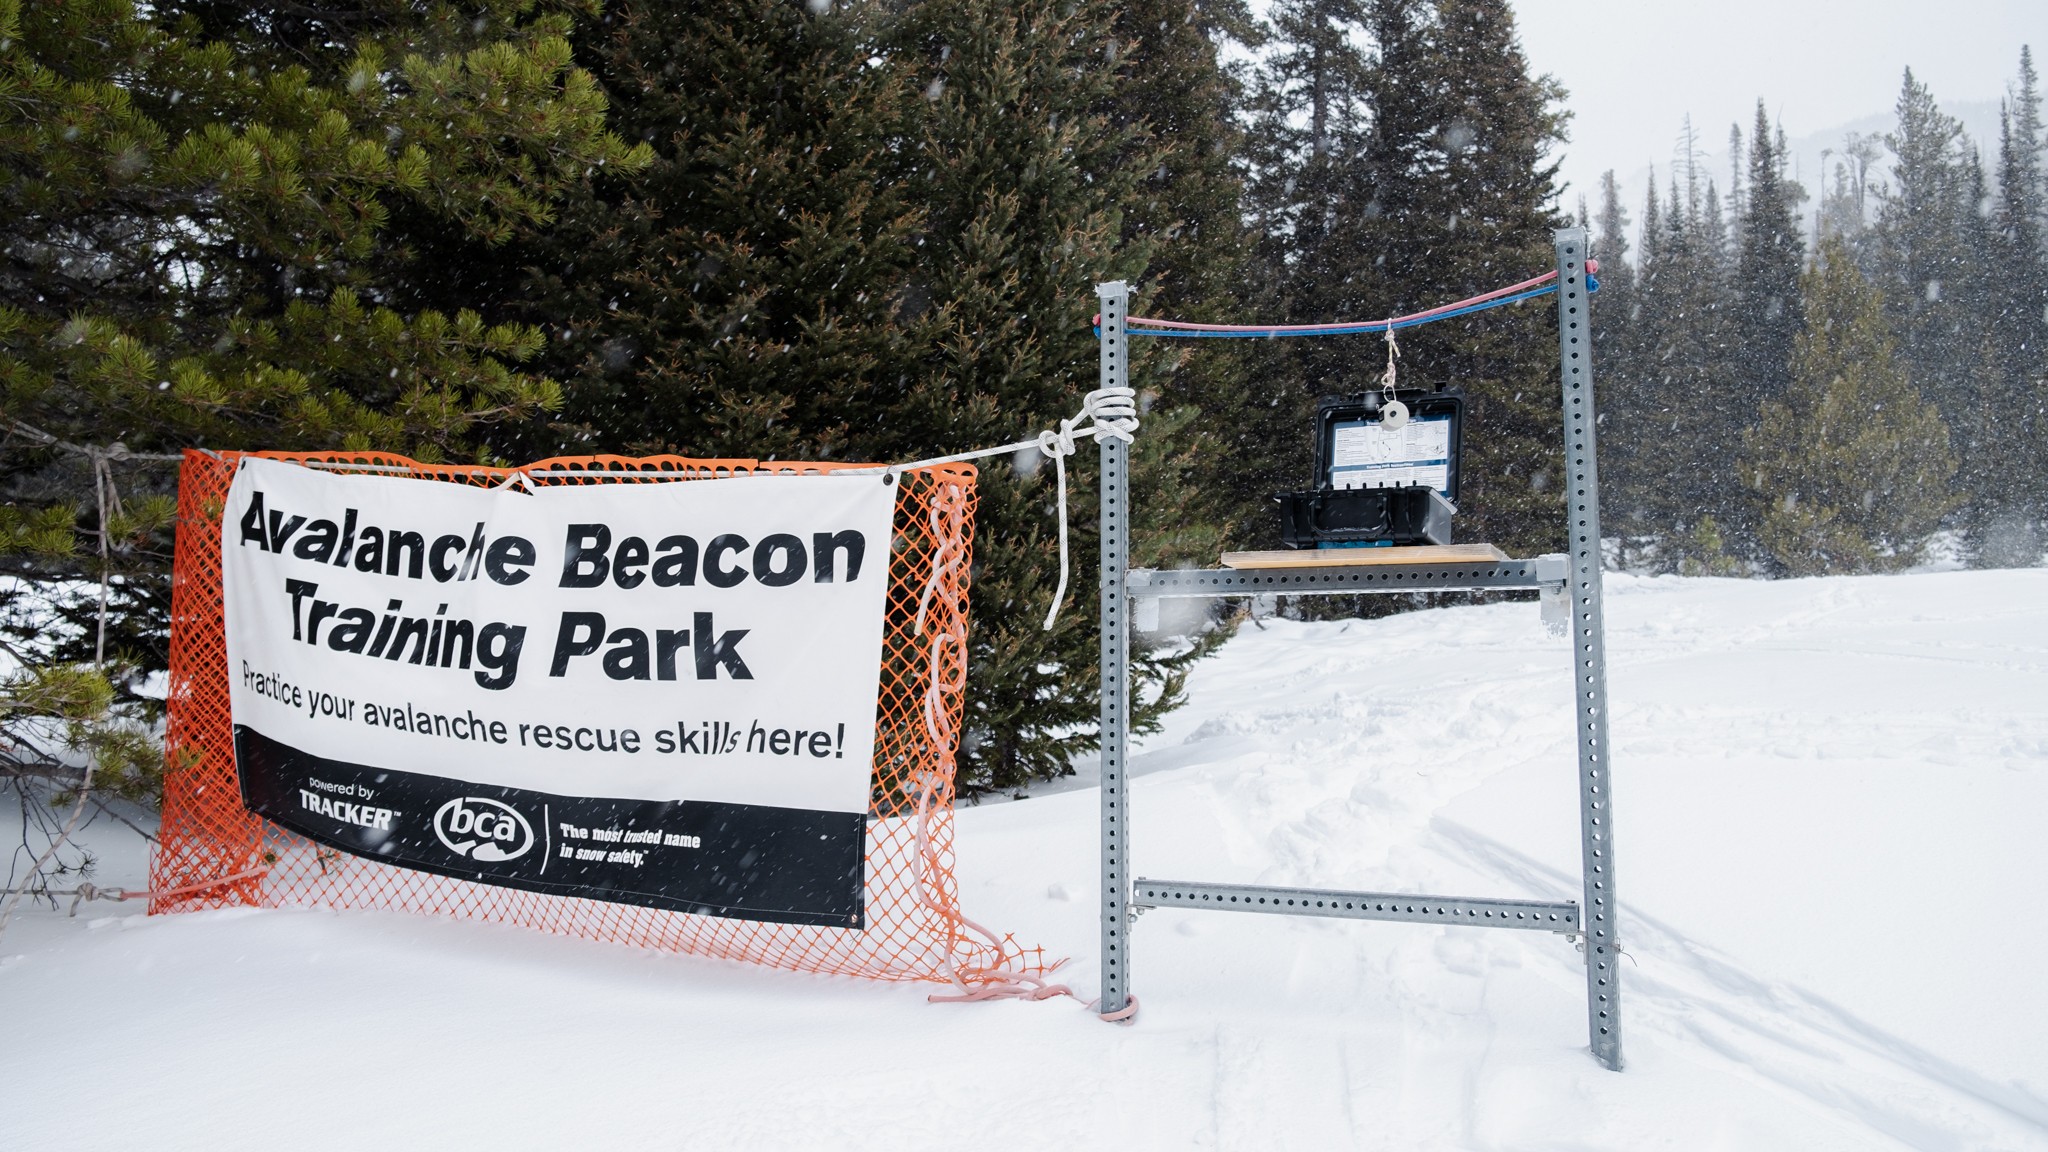
Utilize your local beacon park if you have one nearby. There's no easier way to get in a lot of reps.
Credit: Dom Rickicki
Interface
Performing an actual avalanche rescue is, without a doubt, incredibly stressful. All of the training and practice we do is ultimately to help reduce the stress of the situation so that we can operate effectively. When choosing a beacon, we think it is important to find a product that is easy to use because the last thing you want to be doing in that situation is fighting with your tools. Although an intuitive interface is helpful, you need to spend enough time practicing with your beacon so that you understand its functions inside and out. While some beacons are easy to learn to use right out of the box, others require a fair amount of time with the user manual.
We can't stress enough how important it is to read the user manual that comes with your new beacon, but still, our favorite beacons are the ones we can almost fully understand without any required reading. Their switches are easy to operate, buttons are clearly labeled, screens are easy to read, systems are easy to navigate, and any special features are quick to learn. Base models – like the Barryvox and Recon X – score higher in this regard than their complex siblings, which require significantly more time to understand and practice with.
The base model Barryvox works well for folks with some experience, but who don't necessarily need all the bells and whistles of a pro-level beacon.
Credit: Ian Nicholson
But when it comes to pure ease of use, it's tough to beat the straightforward direction of the Diract Voice. Notably, this is the only beacon currently on the market that features voice commands, which are intended to walk you through an inherently stressful situation. But beyond that feature, its unique switch is easy to flip, the screen is bright and easy to read, and the flagging function is front and center with a single button easily identified by a flag.
Ortovox utilized a unique power button and search switch in the Diract Voice that is very easy to operate.
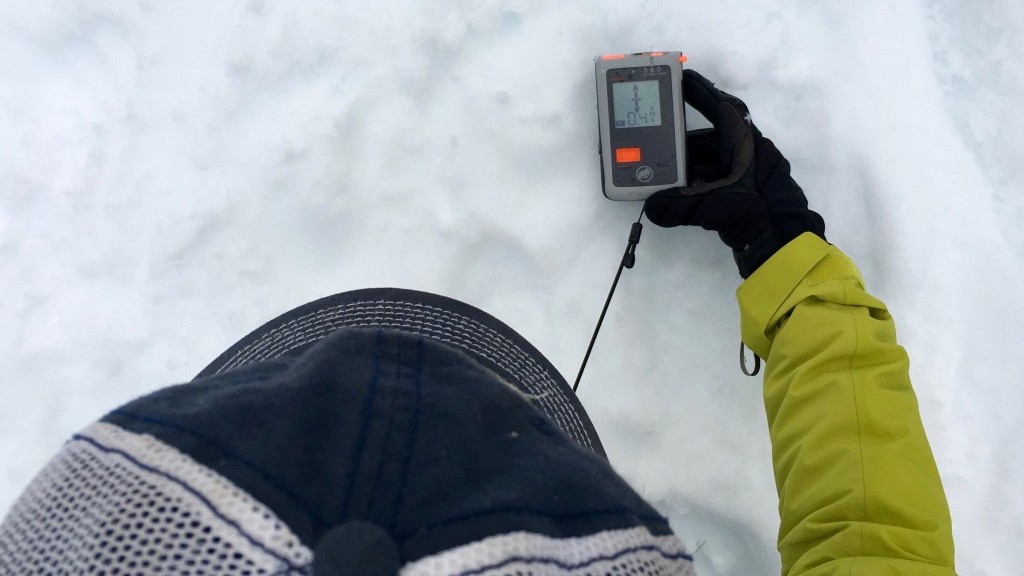
Numbers and arrows. At their most basic, you only need to know where to move and how far before you hit your target.
All of the feature-rich pro beacons are inherently more complex, but there are a few notable differences in ease of use. While the Black Diamond Guide BT and Arva Neo BT Pro are both Bluetooth enabled and require connection to an app to change settings, you can access all of the settings directly on the Barryvox S. Bluetooth connectivity is nice for initial setup, but we ultimately decided we preferred the more simple approach of the Barryvox S. Since we could toggle between settings directly on the beacon, we could more easily test features in the field, allowing us the opportunity to better personalize the set up of the Barryvox S.
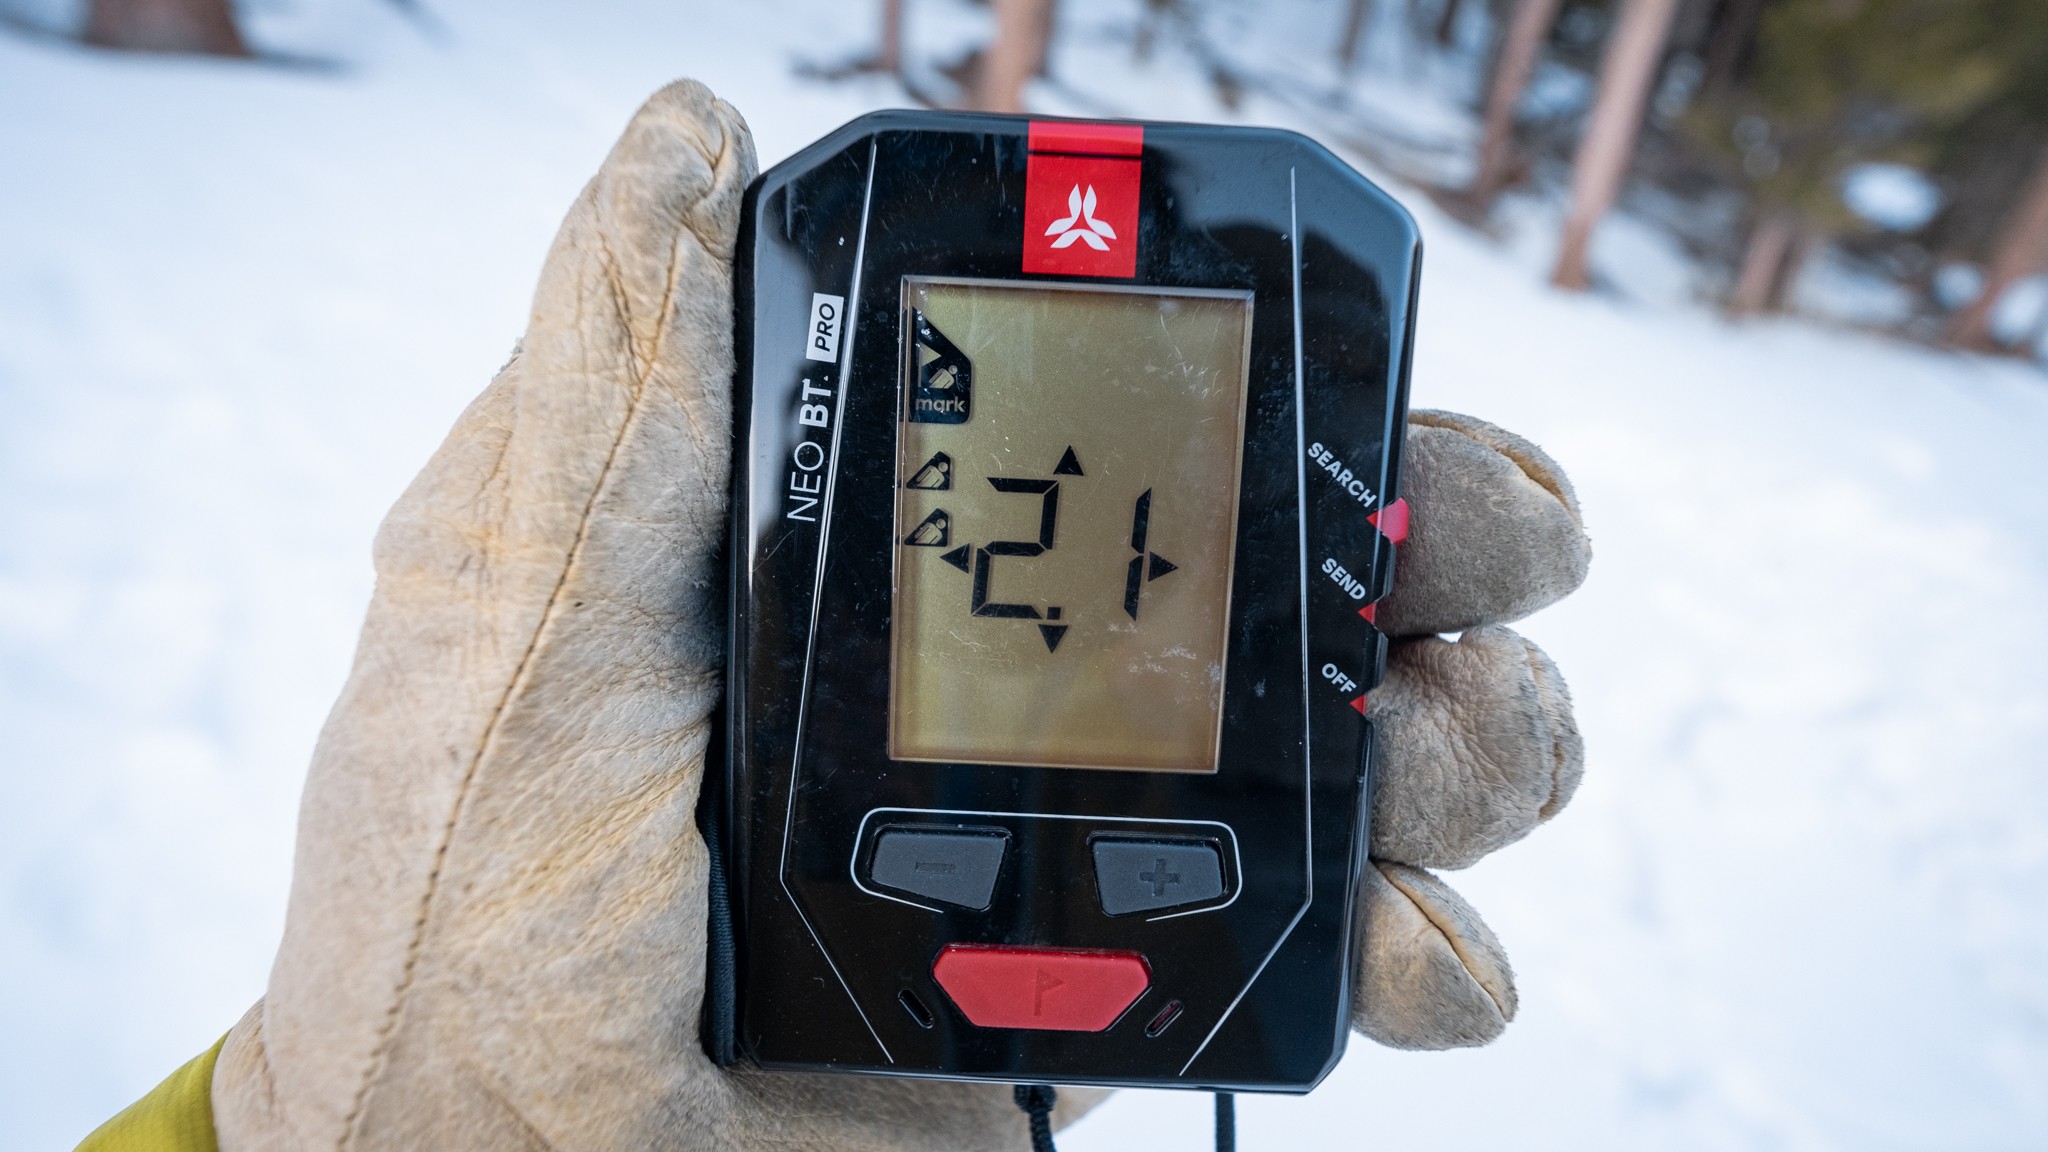
A pro-level beacon like the Arva Neo BT Pro has a more complicated interface than a simpler base model beacon.
Credit: Dom Rickicki
Accuracy
A beacon that allows you to zip to the target at a rapid speed is nothing if it doesn't put you close to the right spot to begin probing. To assess accuracy, we first considered the accuracy of the distance and direction readings during the coarse search phase. Once we began a fine search, we measured the size of a bracket – the lowest distance reading along the X and Y axes – relative to where we got a positive probe strike. In order to maintain consistency between each test, we only allowed for one bracket in the fine search to get the lowest number. The tester was allowed to move once, front-to-back, to a low point and then once, left-to-right, to refine their search – one full bracket.
Fine search accuracy is a bit of a funny thing, as it is all based on rescue practice. We practice with buried targets that are much smaller than a human body, typically a buried backpack. The idea is that it imitates a worst-case scenario burial where someone is buried vertically (thus, the surface area we have to probe is smaller). With that disclaimer, every single beacon in this test brought us within one meter of a target – a reasonable distance easily probed with proper technique. The average burial depth for accidents in the United States is 75 cm to 130 cm, so we buried our targets 1 m deep.
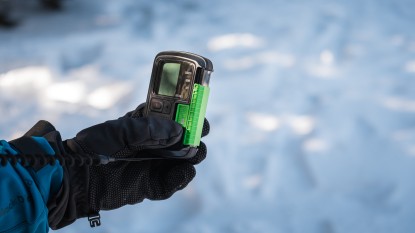
The Pieps processor on the Recon X is smooth, easy to follow, and incredibly accurate.
Credit: Dom Rickicki
The conclusion we came to is that with a careful, well-practiced fine search (with only one bracket) and proper probing technique, you will quite often get a strike within the first or second probe ring of your search. Among all the beacons in our test, we noted little difference in accuracy during a search for a single target. However, multiple burials did change both the speed and accuracy results of our tests – this is explained further in the Multiple Burials section.
Even though speed may be the Tracker4's super power, it is still delivers accurate results.
Credit: Dom Rickicki
Where we did notice a difference in accuracy between beacons was in the coarse search phase. Some, like the Recon X, provided smooth and accurate distance readings throughout the coarse search. Other beacons, like the Arva Neo Pro BT, particularly struggled at the maximum extent of their range. Even though the Neo Pro BT tended to acquire a strong signal initially, once we began moving in, the numbers would fluctuate up and down for the first 10-15 meters of the coarse search before becoming consistent. Then, as we neared the fine search phase, the distance would sometimes drop quickly, causing us to drop into bracketing sooner than we anticipated. While more experienced users were able to adapt to these unexpected changes, it was confusing for more novice users.
One of the things we didn't love about the Neo BT Pro, particularly in the hands of newer users, is that the directional arrows disappear at 3 meters instead of the more common distance of 2 meters.
Credit: Ian Nicholson
The most accurate beacons in our tests are those from Black Diamond. The Recon X is simply the base model of the more advanced Guide BT, and both operate using the time-tested Pieps processor. (Black Diamond acquired Pieps in 2012.) We successfully probed targets on the first or second strike more often with a Black Diamond beacon in our hands. It could probably go without saying, but beacons that provide sporadic directions are harder to follow and ultimately less efficient. While these BD beacons weren't quite as fast as the BCA models, they are noticeably quicker than the Mammut line and are more consistent with their results thanks to smooth readings of distance and direction.
The Barryvox S may seem like it's a bit slower in a fine search, but that's only because its super-smart processor is working hard to refine distances to their most accurate.
Credit: Dom Rickicki
Multiple Burials
As you increase the number of burials, you increase the complexity and challenge of the rescue effort. Fortunately, multiple burial scenarios comprise only 15% of recorded avalanche accidents – of that 15%, only 5% involved more than two burials. Even if these situations don't make up the majority of rescues, it is still important that we practice them, as we always train to better prepare ourselves for the worst-case scenario. The best beacons for multiple burial scenarios offer specialized functions for identifying the number of victims, an easy-to-use flagging or marking function, and a powerful processor that won't get bogged down by multiple signals. (Note that we will use the terms “flagging” and “marking” interchangeably in our discussion, as they are functionally the same.)
A Disclaimer on Multiple Burial Capability
Unless you are a snow safety professional or an aspiring pro training for exams, we don't recommend purchasing a beacon solely for its capabilities in complex rescue. Rather, we recommend purchasing the beacon that is easiest to use in the majority of real-world rescues – which typically involve one and sometimes two burials.
Among reported avalanches in North America and Europe, only about 15% of avalanche incidents involved more than one victim. 85% of the time, incidents involved only a single burial.
Credit: Ian Nicholson
As far as marking functions go, there are a few options available. BCA's Signal Suppression – included in the Tracker S, Tracker3, and Tracker4 – is perhaps the most basic. It allows you to suppress only one signal at a time, and it automatically reverts to the closest signal after one minute. For one- and two-person burials, the BCA system, although less advanced, is quick and easy to use. It is a worthy consideration for any recreational skier and even for professionals who prioritize speed and simplicity in their practice.
Much like a marking function, BCA's Signal Suppression mode “masks” a signal. While it can only suppress one signal at a time, this design is particularly fast in single burial scenarios.
Credit: Ian Nicholson
The most useful functions are readily available, not buried behind menus. This design concept is embodied in base model beacons like the Recon X, Barryvox, and even the very basic Arva Evo4. Their flagging function – which will block out the incoming signal from the closest beacon – is located front and center on a single button, and they all have the ability to flag more than one signal. The tradeoff for this flagging function, as compared to the single mark with BCA's Signal Suppression, is processing speed. As you increase the number of incoming signals, these beacons tend to lag more, particularly in a fine search.
A beacon like the Barryvox is easy to use for single burials, but still includes a flagging function in case you end up dealing with a multiple-burial scenario.
Credit: Dom Rickicki
For recreational users, our favorite beacon for handling multi-burial scenarios is the Black Diamond Recon X. Even bombarded with multiple signals, the highly capable Pieps processor still provided us with accurate distance readings and generally correct direction arrows. While the Recon X did lag under the burden of four signals, so did every other beacon we tested at this price point. The processor in the BCA beacons didn't lag quite as much in multiple burial scenarios, but their distance and arrow readings jumped around and were harder to follow than those on the Recon X.
Even if pro-level beacons beat it out in multi-burial scenarios, the superb accuracy and an easy-to-understanding flagging function make the Recon X our favorite for recreational use.
Credit: Dom Rickicki
The most advanced tools are found in pro-level beacons. The Guide BT, Barryvox S, and Neo BT Pro all offer top-of-the-line functionality to help a rescuer solve the most complex rescue scenarios, including the option to switch to an analog mode. These beacons allow you to flag multiple signals and scroll through a list of burials. The Barryvox S and Neo BT Pro offer the most advanced scrolling features, which allow you to see each signal and its distance from you, flag or unflag signals (within a certain proximity), and the ability to choose which signal you want to follow to prioritize closer victims. The Guide BT, on the other hand, offers a unique Scan mode that highlights the number of burials within 20, 40, and 60 meters. Similarly, Big Picture mode, which is included on all three Tracker models from BCA, allows a rescuer to quickly build a mental map of a multi-burial scenario by flashing between every signal within range.
Pro-level beacons, like the Guide BT, offer extra features for complex multiple burial situations that many professionals train for.
Credit: Dom Rickicki
For professional users, our favorite beacon for multiple burial scenarios is the Mammut Barryvox S. Its advanced functions are the easiest to operate while still providing us with the most unique options for handling complex situations. While the Neo BT Pro is impressive considering its price point relative to the Barryvox S, unfortunately, it suffered from less accurate distance and direction readings under the burden of more than three signals. Compared to the Guide BT, the Barryvox does suffer a bit from significant lag in a fine search. But compared to the scrolling function on the Barryvox S, it isn't nearly as easy to triage a scene with the Scan function on the Guide BT. While we've determined our preference, ultimately, it seems like a toss-up between the smooth processor of the Guide BT and the easy-to-operate interface of the Barryvox S.
Slow is smooth, and smooth is fast. Even under the pressure of multiple burials, the Barryvox S is the epitome of smooth.
Credit: Dom Rickicki
Range
A beacon's range is the furthest distance at which it is able to acquire a signal. A longer range is better not only because you can pick up a signal earlier in your search but it means you can increase the distance of your search strip width, allowing you to cover ground more quickly during the signal acquisition phase.
Beacon manufacturers stated range is measured under conditions of “ideal coupling”, when the antenna of the transmitting beacon and the searching beacon are perfectly aligned. This coupling of the two flux lines provides you with the longest possible receiving distance for a beacon.
This is compared to a real-world scenario where the buried beacon orientation is unknown and likely not ideal. For our tests, we measured the distance at which each beacon acquired a strong, consistent signal. We then averaged those distances across all of our test runs to better understand each beacon's range under more realistic conditions. The measured range for every single beacon in our test is lower than the manufacturer's stated range – we measured an industry average of 45 meters.
The Neo BT Pro, with a range of 62 meters, is the longest average range we recorded. This exceptional range was actually somewhat frustrating for our lead tester, who had to keep moving the starting line back during his search tests because the Neo BT Pro picked up a signal so much further away than the other beacons in the test. While this is certainly not a bad thing, it's also worth noting that the first 10-15 meters of a coarse search with this beacon was marked by sporadic distance readings that slowed us down until it locked into a more accurate signal around 50 meters.
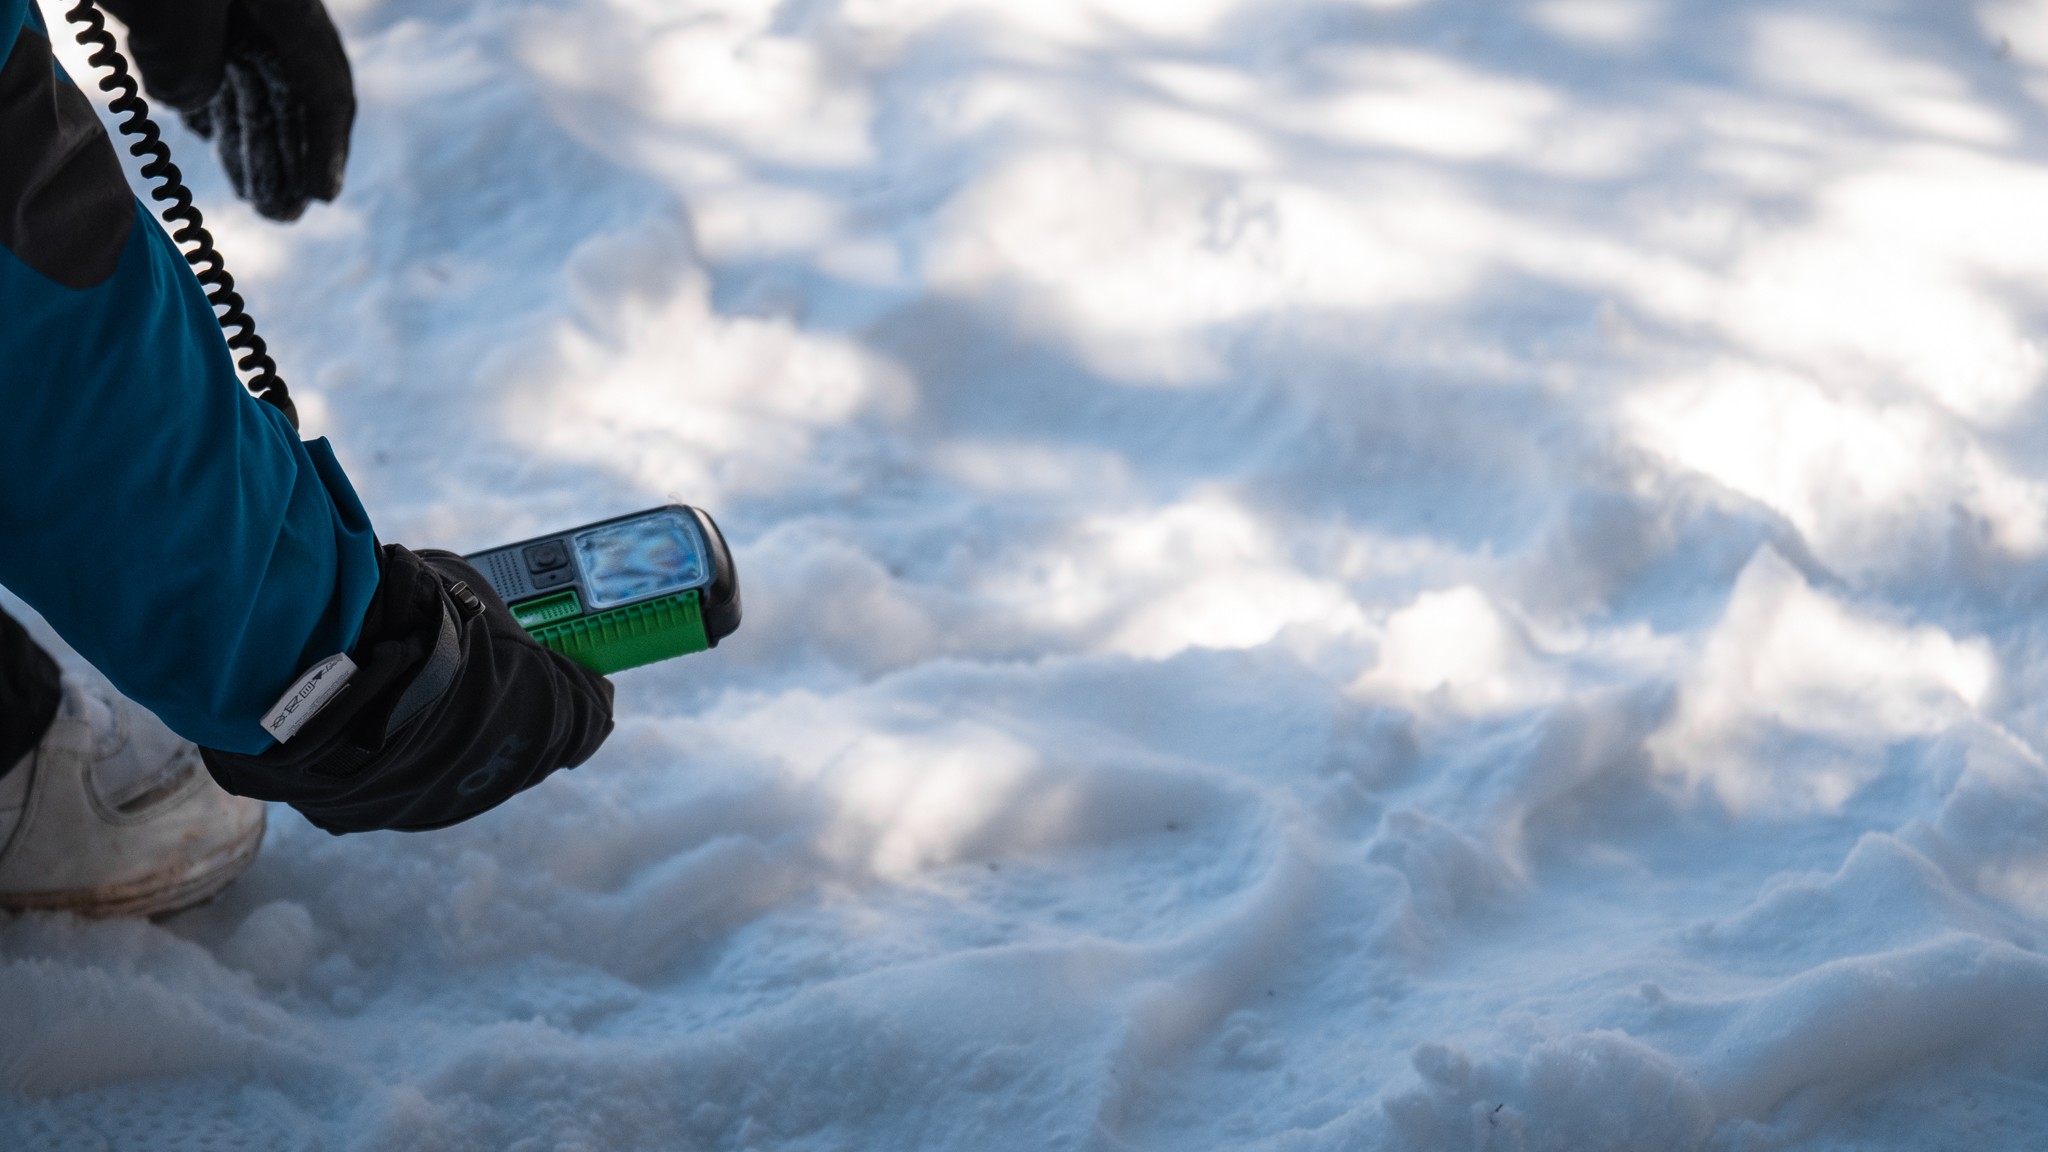
Electronic interference from commonly carried items like radios, cell phones, heated gloves, smart watches, and GoPros can all affect a beacon's effective range. Be sure to keep your beacon at least 50 cm from these objects while searching.
Credit: Dom Rickicki
The Barryvox S – with the second longest recorded range of 55 meters – also struggled with locking into an accurate signal at the maximum extent of its range. Though compared to the Neo BT Pro, with which we would have to fully stop to try and let the beacon catch up, the slight range issues with the Barryvox S hardly interrupted our search. We also noted that beacons with shorter ranges – like those from Black Diamond and BCA – were the most reliable at the extent of their range, which was, interestingly, right around 45 meters.
The quicker you pick up a signal the sooner you can start moving towards your target.
Credit: Dom Rickicki
Conclusion
This review is designed to help lay out the nuanced differences between the avalanche beacons on the market today. Although they do not guarantee survival, beacons significantly enhance the chances of a positive outcome if you or a partner are caught and buried in an avalanche – you aren't just buying a beacon for yourself but also for your friends and backcountry partners. We understand that the importance of choosing the right one can be overwhelming. While some models are designed to suit specific user groups, remember that every beacon in our review fits the bill. But considering all of the ways you can save money while buying gear, an avalanche beacon is likely not the best piece of equipment to skimp on.