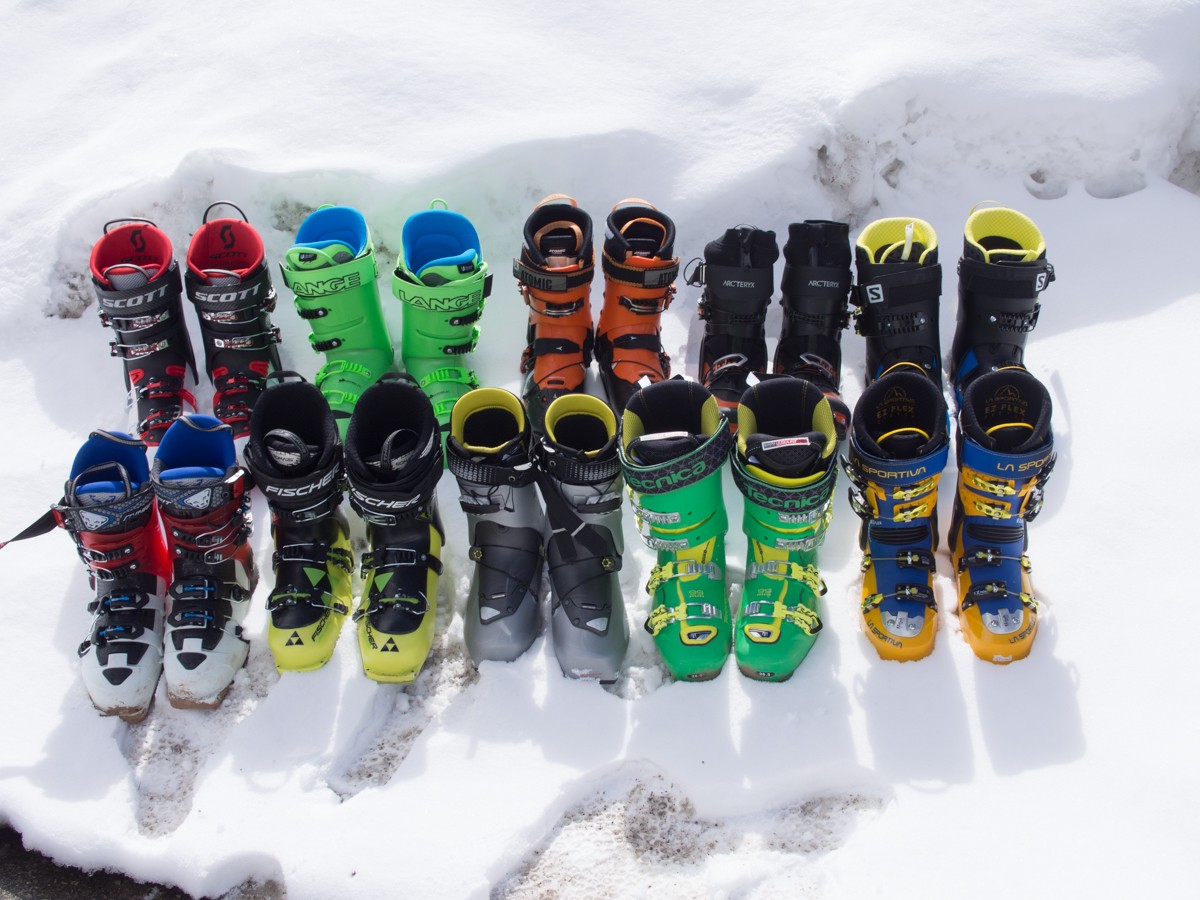
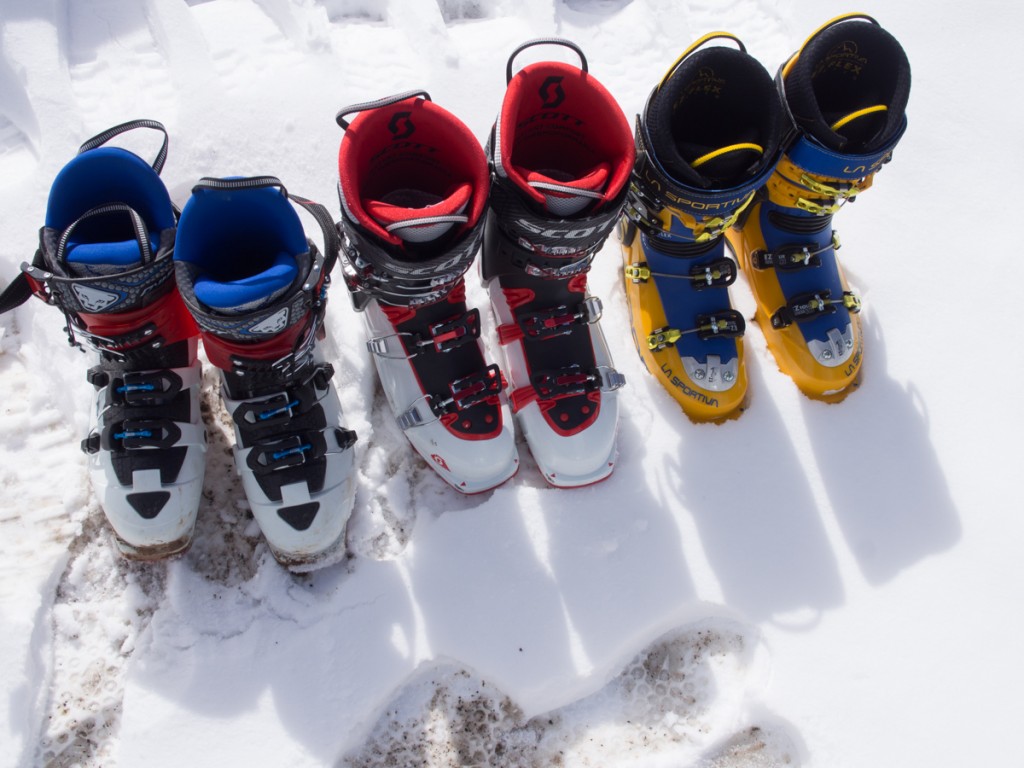
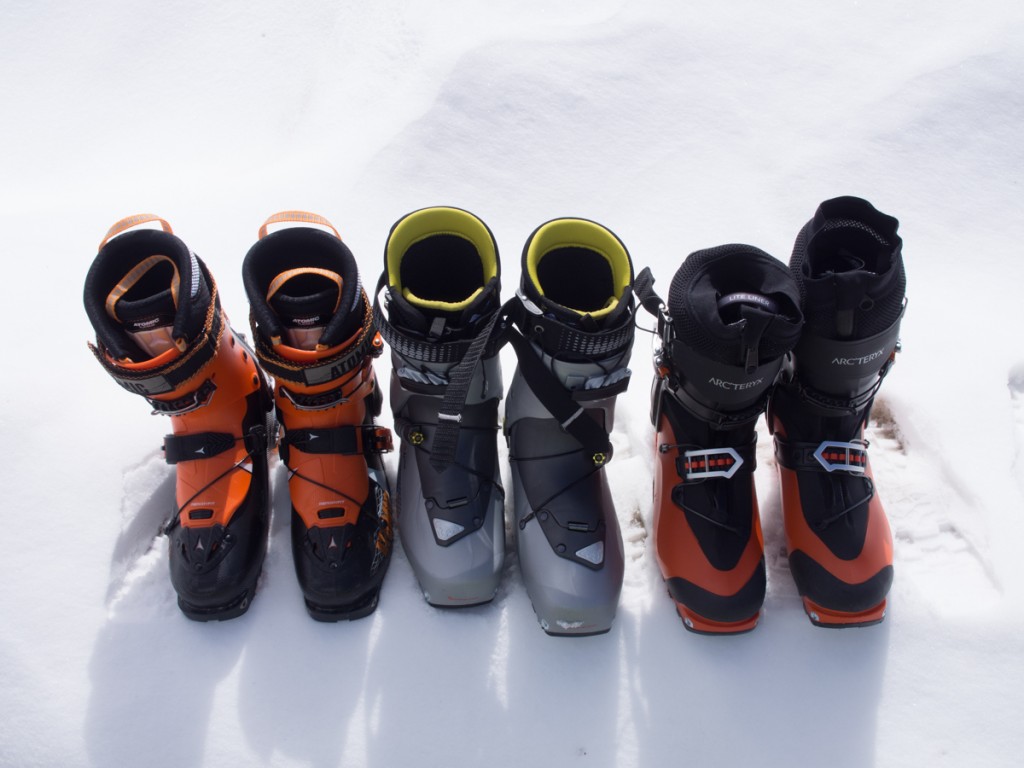
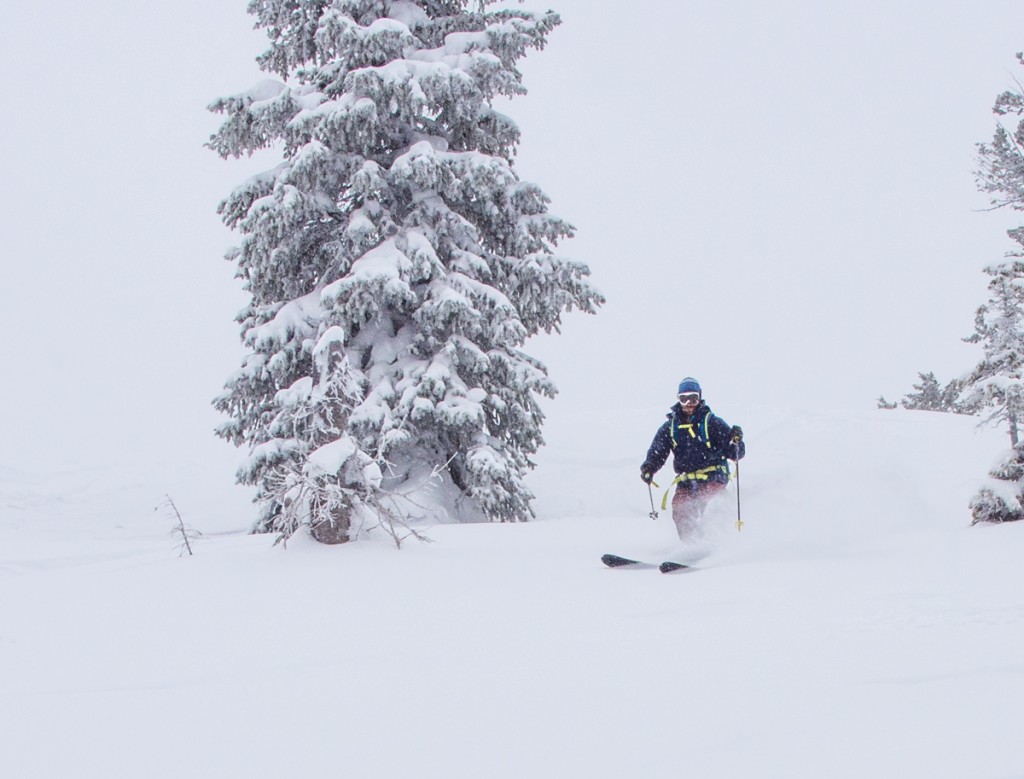
AT ski boots have a tough job to do. Ideally, they are flexible and light for the uphill, stiff and responsive on the way down, and comfortable and warm throughout. Many of these attributes are at odds with one another, and optimizing for one decreases performance in another. This inevitable compromise makes your shopping difficult. Where along the spectrum from easy uphill performance to optimal downhill control do you fit? How do you decode manufacturer's terminology, short in-person demo trials, and online reviews to make your choice?
In recent years, as backcountry skiing has taken off, equipment has steadily improved. Thirty-some years ago “AT boots” were either glorified ice climbing boots, or alpine race boots with a rubber sole. By twenty years ago there were a handful of rudimentary products one could choose from. These foundational AT ski boots aimed for a perfect balance of uphill and downhill performance, without excelling at either. The past decade has seen a major and accelerating increase in the quality and quantity of options. Progress has occurred in three main directions, with boots falling into three corresponding categories. Boot improvement has come in terms of weight, ski performance, and touring range of motion. Many products are better in all three categories than boots of just a few years past.
The Types of AT Ski Boots Available
All Around AT Ski Boots
Boots we term as “All Around” are manufacturer's attempts to optimize a nearly equal balance of uphill and downhill attributes. The boots in this category have improved in recent years in both ways. They tour better *and* ski better than their predecessors. In most cases, the improvements are significant and result in boots that serve a wide range of users.
Middle ground AT ski boots differentiate for consumers mainly on fit differences, though they also vary some in performance, weight, and slight differences in the relative optimization of the uphill/downhill balance. It must be acknowledged that brand loyalty and other marketing pressures may play into your choice. There are tons and tons of excellent options in this category.
Identify All Around AT ski boots as those with a weight between 1150 and 1500 grams (per boot) and 2-4 buckles plus a “power strap”.
Super-light AT Ski Boots
Borrowing technology, materials, and design cues from randonnee racing or “SkiMo” racing boots (which we do not discuss nor review here, as they are very very specific in function), the lightest and most flexible end of the AT boot spectrum is worth your close examination. In balancing the uphill and downhill performance attributes, the designers of these boots lean hard to the uphill end of the spectrum. In some cases, they climb and walk as well as winter mountaineering boots, while providing the technically proficient skier enough support for all but the most “high energy” downhill techniques. The best boots in this category ski almost as well as your normal touring boots, with a weight and cuff range of motion that allows touring freedom for huge days and minimal energy expenditure.
Identify Super Light AT ski boots with a weight under 1150 grams (in some cases, as low as 800 grams), 1-2 buckles, and a cuff range of motion greater than 60 degrees.
Alpine Ski Boots with Touring Features
The final category of AT boots is those that are essentially resort, all-mountain alpine ski boots with a rubber sole, ski/walk mode switch, and metal fittings to work with modern “tech style” AT bindings. These boots ski downhill really well, with stiffness and responsiveness that simulates that of dedicated inbounds boots. Their uphill performance and features are rudimentary at best, as it still proves difficult to optimize for both up and downhill. The best boots in this subcategory ski basically as well as your all mountain alpine boots, and tour almost as well as an average all around AT boot.
Identify touring featured alpine boots by their “overlap” shell construction, weigh over 1500 grams per boot, and compatibility with both tech and some kind of resort bindings.
How to Choose AT Ski Boots
Choose Your Category
Your first step in choosing AT Ski boots is to decide on which of the three above categories you are looking at. Most people will choose a boot from the all-around list. You likely already have a resort alpine set-up, and are looking for boots for dedicated backcountry missions. These backcountry missions may range from short “out of bounds” excursions to serious, multi-week ski mountaineering expeditions. The equipment available in the all-around category will serve all these purposes.
If you are very apprehensive about the downhill performance of your backcountry gear, either because you ski very fast and hard or because your backcountry ski technique is still in its early stages (backcountry ski technique starts with expert level in-bounds technique. Beginner or intermediate resort skiers need more time, training, and skill from the resort before venturing onto the wild snow of the backcountry. Even for expert-level resort skiers, backcountry snow is difficult), the slightly modified alpine boot selections are likely most appropriate. These heavier and ski-optimized AT boots are also worth considering for the dedicated backcountry skier that wants a second set-up for occasional resort use or shorter days of human-powered skiing.
For those backcountry skiers that have some mileage under their belts and may already have an all-around set up, a lightweight boot is worth considering. It will be a rare case in which a backcountry skier buys his or her first AT boots in this ultralight category. This rare case, though, is increasing in likelihood as the lightweight boots improve in comfort and downhill performance, and exactly what they are capable of is being demystified by more and more use.
Fit and Comfort
After narrowing down the category in which you will be shopping, you must consider fit. Fit is king. Boots that are uncomfortable will ruin your day, week, trip, or expedition. They may even damage your feet and adversely affect your perception of all of backcountry skiing. In each major category of AT ski boots there are now multiple options for feet of different shape and size. In shopping for AT boots, consider giving yourself a little more room than in your regular alpine boots. Touring and warmth both benefit from having a little more space.
Like with alpine ski boots, AT boots are sized first by length. The “mondo point” sizing system is a simplified foot sizing metric that is basically a measure of the length inside the shell, in centimeters. The “catch” is that so-called half sizes, across all brands, are the same shell size as an adjacent whole number sized shell. In most brands, the size 27 boot has the same shell as the size 27.5 boot. This allows the manufacturer to offer half sizes of boots, while only making expensive molds for every other boot. How the manufacturers make the half size boot actually a different size is a bit of a mystery. Some claim to use a different liner, some ship the boot with a different thickness of “insole” (which most users dispose of immediately anyway), while others may mold the liners with more space in the bigger labeled boot. It is conceivable that there is no actual difference in the half size boots from some manufacturers. Finally, further confusing things, while most manufacturers make the half size boot in the same shell of the next size down (as in the 27 and 27.5 example above), others make the half size boot the same shell as the next size up. In this case, the 27.5 is the same as the 28. Wicked confusing. Be patient, do your research, and whenever possible, try things on.
After length, you need to consider the “volume” of your particular foot when choosing boots. Some feet are lower volume, or narrower, while others are higher volume. Each boot model comes from the factory with a volume preset for a specific sort of fit. This volume is essentially fixed for a given model of boot. Your feet are a flexible matrix of bone, muscle, and connective tissue. In skiing and touring, they move, flex, and swell in all dimensions. They should be thought of as three-dimensional, semi-fluid shapes. It is the volume of the boot and the volume of your feet that need to match. Actual volume of a ski boot is very difficult to measure and is therefore not reported. Try things on and use our reviews for comparative assessment of the relative volume of different boots.
Manufacturers report on the “last width” of their boots. This is an attempt to quantify the width of the boot. However, it is the width of just one spot in the boot and is measured, in most cases, on a “slight diagonal”. Specifically, last width is supposed to be measured inside the shell of the boot, across and parallel to the rough location of the metatarsal heads. The metatarsal heads are the joints at the base of each toe. The line of the last width traces the line that connects these 5 joints. With anatomical differences and different manufacturer's interpretation of a line parallel to these joints, one company's 100mm last can feel the same as another's 104mm. In alpine boots, where companies often manufacture the same model in 2-3 different last widths, these numbers are useful. For comparing boots between different manufacturers, they are basically irrelevant. AT boot models, except for rare exceptions, are made in just one last width. Nonetheless, AT boot manufacturers report on their last widths, and many consumers, conditioned by their shopping in the regular alpine boot market, hone in on these numbers as the gospel truth. Buyer beware of the value of these numbers. The backcountry ski gear market has greatly expanded, but not yet to the point where a given boot model is available in different last widths. We look forward to the boot fitting ramifications of that milestone. Maybe we aren't as enthusiastic about the backcountry crowds that may accompany such a critical mass of market size.
Every AT boot on the market has a liner that can be heat molded. For the careful shopper with anything but the most dramatic of foot issues, liner molding is all that is necessary to fully accommodate your feet. Some liners, especially those in the ultralight boots, are quite thin. These thin liners have less “room” for molding customization and less material for padding tough-to-fit spots. Shell fit is very important in the ultralight boots.
Finally, most boots can be adjusted, slightly, in terms of shell fit. Some materials are easier to work with, and some are impossible to adjust. Carbon fiber is light and stiff, but cannot be adjusted at all. Grilamid is light and stiff, though less so than carbon fiber. Grilamid can be altered, but it is very difficult. Pebax is common, inexpensive, and not as stiff as grilamid. It can be worked with, but it is also difficult. Polyurethane is the least expensive material used in boots and is easy to work with for fitting. If you have dramatic fit issues, polyurethane is likely your best choice, but it must be noted that its stiffness is less than the other options and its stiffness is vulnerable to temperature changes. Lastly, some boots are made of proprietary plastics that are very very easy to manipulate. In our review, the Atomic Hawx Ultra XTD is made with a plastic shell material that can be heat molded similarly to the way liners are.
Warmth and Insulation
AT ski boots will be used in cold climates. In the case of multi-day and expedition backcountry skiing and ski mountaineering, the insulation value of your boots can have survival implications. With a wide range of ski boot thicknesses now available, the insulation value is an important consideration. It used to be that all AT boots insulated similarly. Now, the lightest ski boots aren't much more insulating than hiking boots, and your usage and selection has to take this into consideration. Basically, there is a fairly direct relationship between ski boots' weight and their warmth. Heavier boots that are thicker are warmer. After that, fit affects warmth. Close fitting boots inhibit circulation and compromise insulation value. For expedition, multi-day, and very cold climate day-trip use, we recommend sizing up a full shell size and installing a thicker liner.
Binding Compatibility
What used to be a major question is now becoming fairly standardized. For all human powered backcountry skiing, “tech” style bindings are most appropriate. There are other systems available, but these are far inferior to the current “tech” standard. We mention it here and in our review only because some consumers are conditioned to consider their options.
Special mention must be made of AT boots made for both tech style bindings and one of the new resort binding formats. There is WTR, Gripwalk, and MNC. Demystifying this alphabet soup is beyond the scope of what we're doing here. But realize that you can get pretty nimble touring boots now that work with specific resort bindings.
Other Considerations
After you have decided your main category of boots, found an appropriate fit, and assessed your insulation needs, any remaining variables are very very minor. Within a given sub-category, durability is fairly consistent. Lighter boots are less rugged than the beefier ones, but boots of similar weight aren't that different in terms of durability. There are small features like climbing features, crampon compatibility, ease of transitioning, and versatility that may play into your ultimate choice. If you are making choices that nuanced, however, you are likely a savvy enough consumer to sort out those differences on your own. Just be careful that those small details aren't getting in the way of the big, major questions you need to address first. If your boots aren't warm enough or don't fit well or don't ski well enough for your needs, the number of buckles or steps in a transition won't make a huge difference. Ask the big questions first, and let the rest fall into place.
Don't use your AT boots in your alpine bindings!As tempting as it might be, don't put any rockered touring sole ski boots into DIN/ISO 5355 alpine bindings (typical alpine bindings). They may or may not stay affixed for a lift ride and easy ski run, but the release value surely won't be consistent and your odds of injury are much higher.
Other important considerations when purchasing a Randonee boot.
Can I just tour in my downhill boots?
Most downhill boots will fit into most frame style bindings like the Marker Duke, Barron and Fritschi Freeride. This is a reasonable introductory strategy, (if you can find skis mounted with these obsolescing bindings) but not ideal in the long term. Touring in alpine boots with little-to-no walk mode is much harder on the uphill and is just straight up less comfortable. Most people who try to do it for any kind of extended tour will end up with shredded and sore shins and tight/cramping glutes. Additionally, these bindings suited to alpine boots are much heavier, less reliable, and becoming less and less available as tech bindings improve and reach more users.
Uphill Performance vs. Downhill Performance
While certainly far from universally true, to some extent, lightweight, more comfortable fitting boots don't perform as well on the descent as their more heavily laden counterparts. You can't have it all. The attributes that make a boot ski downhill well inherently limit uphill performance, and vice versa. Lightweight boots with great cuff range of motion and low friction in tour mode climb best. Boots with thick shells, secure buckles, tight rivets and manufacturing tolerances, and close fit ski downhill best. Of course, the entire AT boot category exists to balance these attributes. We tested products from across the spectrum, and have done so for years and years now. As time goes by, and technology improves, we find that the compromises are less and less. The best touring boots ski better than you could ever imagine 10 years ago. The burliest downhill performers are comfy and usable for light to moderate pace and scale of uphill efforts.

